
Sage Green Filet Square Bed Cover Crochet Pattern
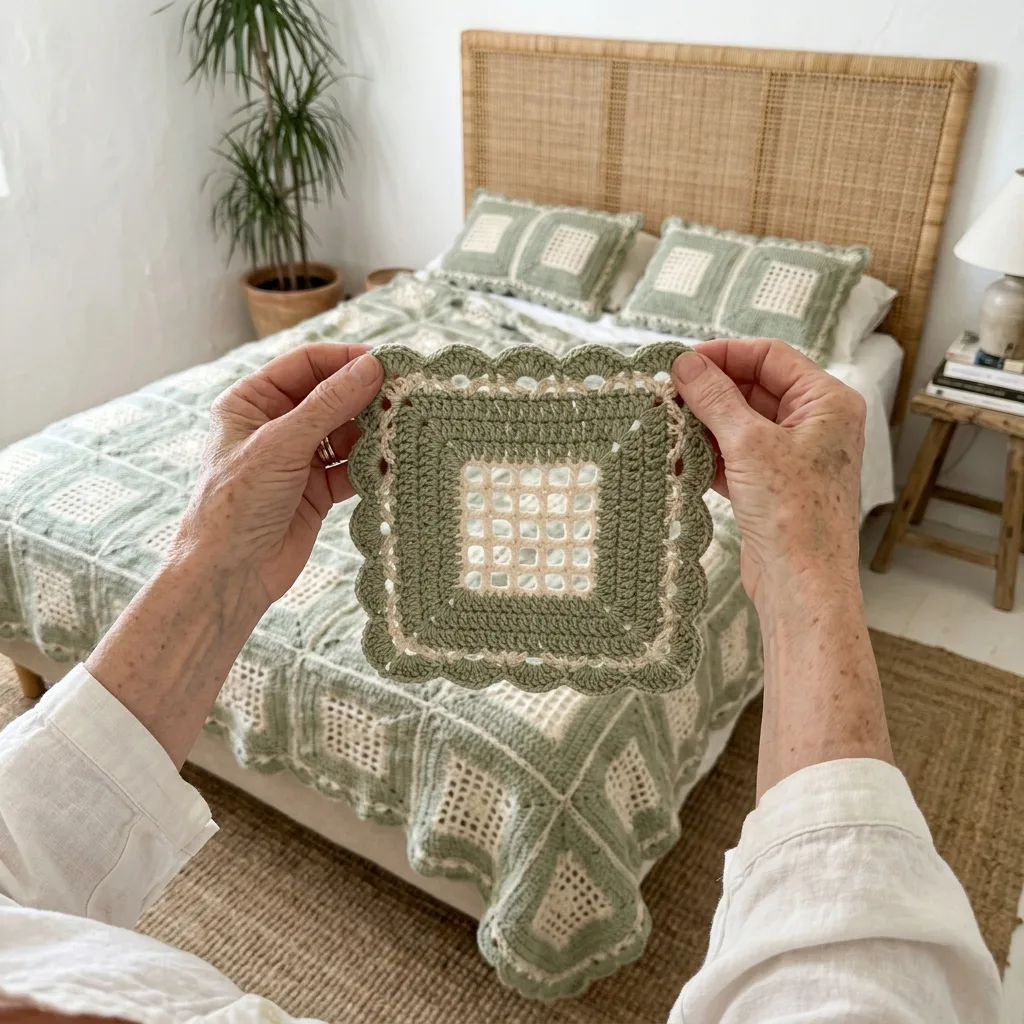
You need to know dc, sc and how to read a simple filet mesh.
Each square takes about 45 minutes, so it is easy to work in small sessions.
A calm green frame around a light cream window suits any bedroom.
About This Sage Green Filet Square Bed Cover Crochet Pattern Pattern
This bed cover is made from 110 sage green squares, and every square has a cream filet mesh window in the center. The mesh is a 4 by 4 grid of open spaces, and it is framed by thick green rows and a scalloped edge of round shells.
Each square measures about 8 inches, and the squares are joined in a grid of 10 wide by 11 long. The finished cover is about 80 by 88 inches. You will use filet mesh, sc, dc, shells and whipstitch joining. It suits a crocheter who has made a few squares and wants a big, calm project for a bedroom.
Why You'll Love This Sage Green Filet Square Bed Cover Crochet Pattern Pattern
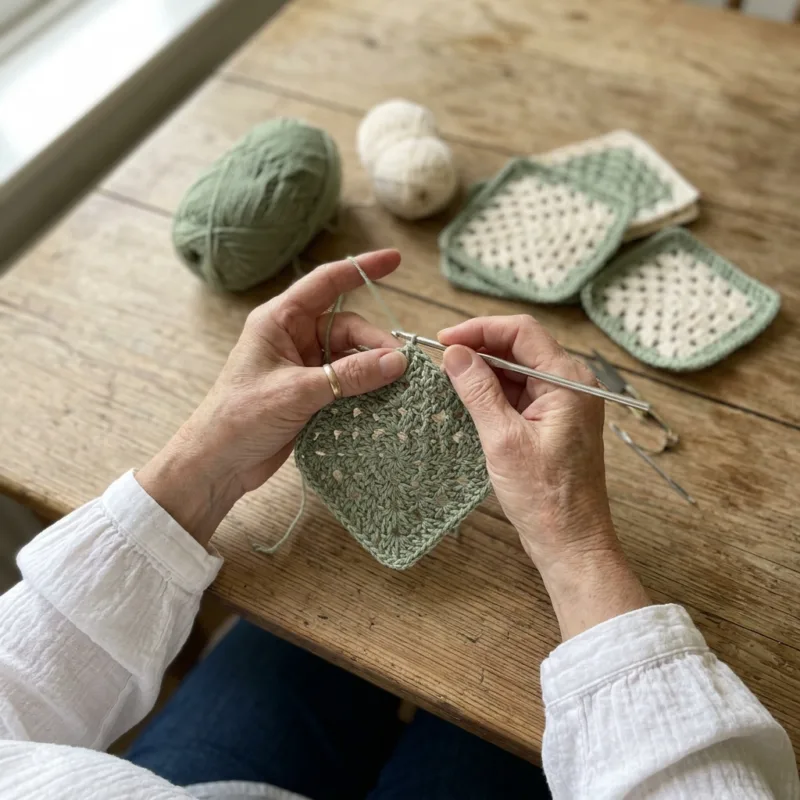
I love this project because the mesh centers are quick and the green frames are relaxing to work. Each square is small, so I can take one along and finish it in an afternoon.
When the squares are joined, the shells meet and make round rings between the windows. That detail is my favorite part. It looks lovely on a bed with white linen, and it would make a wonderful gift for a new home.
Switch Things Up
Try a dusty blue frame with a cream window, or a soft grey frame for a modern bedroom. For a baby blanket, make 5 by 6 squares for a cover about 40 by 48 inches. For a throw, make 6 by 8 squares for about 48 by 64 inches. You can also change the cream mesh to a pale yellow for a warmer look.
Materials Needed
— Main Fabric
— Tools Required
The Free Pattern
0% complete
— Filet Square (Make 110, cream center with sage green frame) :
— Layout :
— Border :
Assembly Instructions
- Weave in all ends on the 110 filet squares and block each one to 8 inches.
- Lay the squares out on a bed or floor in the Layout grid of 10 across and 11 down, with every square turned the same way.
- With sage green yarn and a yarn needle, whipstitch the squares together through the back loops only, matching shell to shell along each side.
- Join the squares into 11 rows of 10 first, then whipstitch the rows together, matching the corner shells at every seam.
- Check that the four corner shells meet neatly at each seam and form a round ring.
- Weave in the joining ends and block the whole cover flat, pinning the Border scallops out evenly along the outer edge.
- Let it dry fully before putting it on the bed.
Common Mistakes & How to Fix Them
Losing a space in the mesh rows makes the center lopsided, so count 4 ch-2 sps at the end of every row.
Squares that come out different sizes will make the grid wavy, so measure each square after blocking and set aside any that are off by more than a quarter inch.
Skipping the corner ch-2 sp on Round 6 makes the frame pull in, so always work (2 dc, ch 2, 2 dc) in each corner middle sc.
Joining too tightly flattens the scallops, so whipstitch loosely and match each shell to its partner.

You Might Also Like
Important Notes
Gauge: the cream mesh should measure about 3 inches across, and the finished square should be 8 inches. Use a larger or smaller hook if yours is not.
Always block the squares before joining, as it opens the mesh and makes the shells lie flat.
Yarn amounts are estimates for 110 squares, so buy extra sage green and cream from the same dye lot.
Wash gently by hand or on a delicate cycle in cool water and dry flat, since cotton gets heavy when wet.
I hope you enjoy making this bed cover one square at a time. Take your time, enjoy the little windows growing, and send me a message when your first row is joined.
Crochet Abbreviations
You Ask, We Answer
What size is the finished bed cover?
It is about 80 by 88 inches with 110 squares in a grid of 10 by 11. Make fewer squares for a throw or baby blanket.
Can I use a different yarn weight?
Yes. Lighter yarn with a smaller hook makes smaller squares, so you will need more squares to reach the same size. Always make one test square and measure it first.
How do I wash it?
Wash by hand or on a delicate cycle in cool water with mild soap, then dry flat. Cotton is heavy when wet, so support the weight and do not hang it.
Success!
Thanks for subscribing — check your inbox for a welcome note.
Abbreviations
- ch — chain
- sl st — slip stitch
- sc — single crochet
- dc — double crochet
- sp — space
- st(s) — stitch(es)