Amanda's Creative Corner Crochet · Kitchen
Free Crochet Patterns Handmade with Love

Lilac Lace Square Bed Cover Crochet Pattern
Jump to Pattern
Lilac Lace Square Bed Cover Crochet Pattern
170-210 Hours 0 made this
Intermediate Level

You need double crochet, chain arches and patience with counting.

170-210 Hours

A big project, but every square is small and portable.

Heirloom Lace

A tiny flower ring grows into airy arches and shell fans.

About This Lilac Lace Square Bed Cover Crochet Pattern Pattern

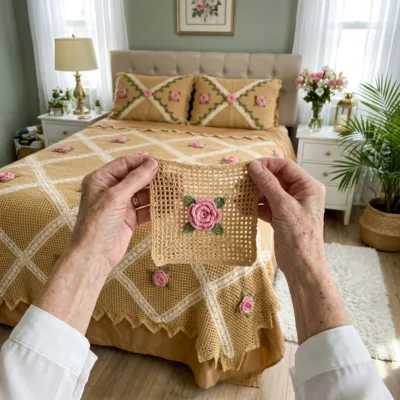
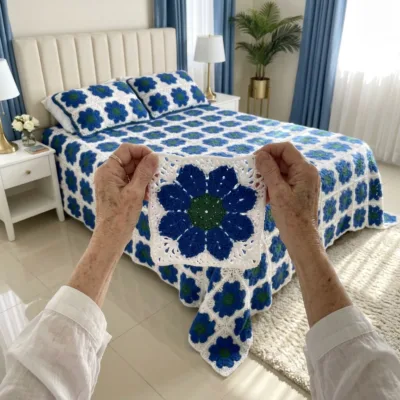
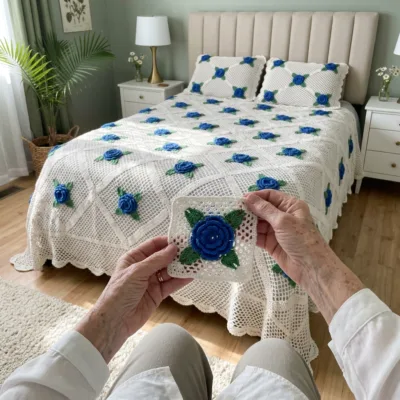
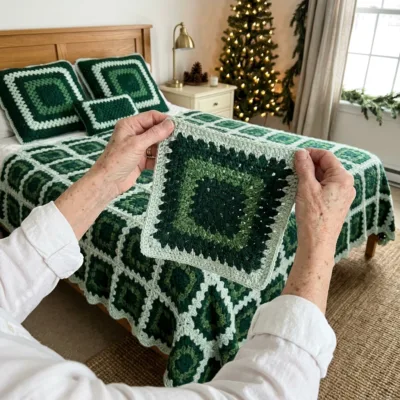
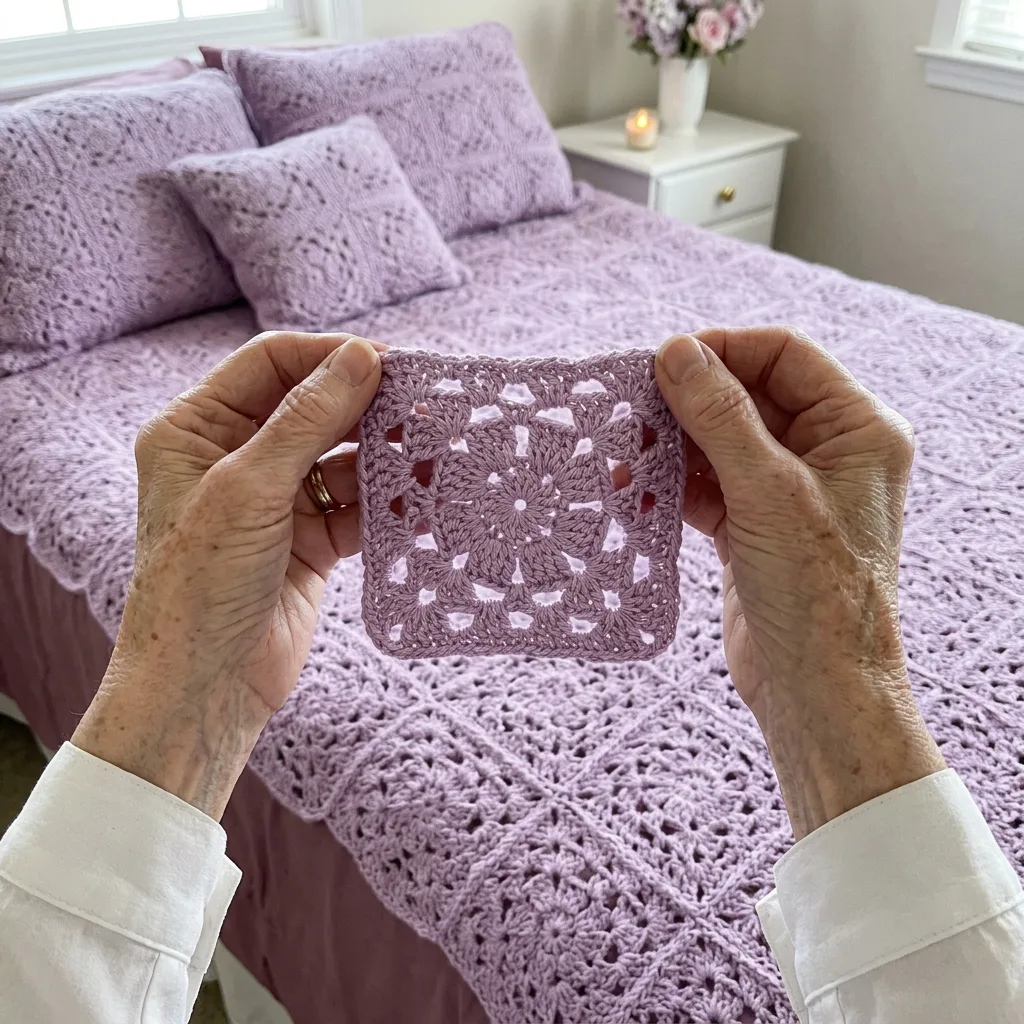
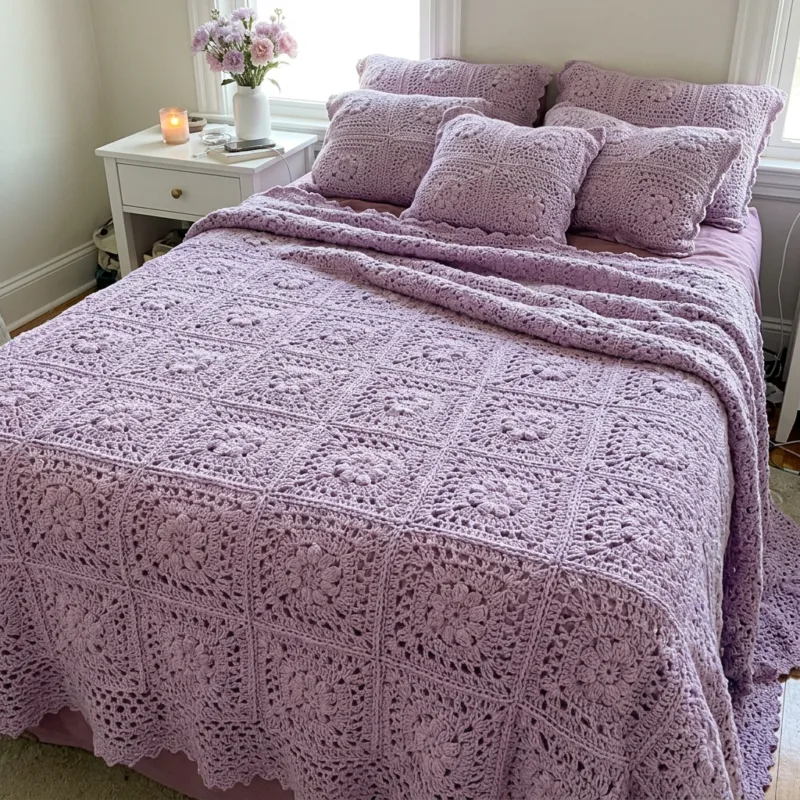
This lilac lace bed cover is made from 72 joined square medallions, each growing from a tiny flower ring into airy arches and shell fans. It finishes at about 96 by 108 inches with a picot scalloped edge, enough to cover a queen bed down to the floor on both sides.

You will use double crochet, single crochet and chain arches. It suits crocheters who are comfortable following rounds and ready for a long, rewarding project.
Lilac Lace Square Bed Cover Crochet Pattern step detail

Why You'll Love This Lilac Lace Square Bed Cover Crochet Pattern Pattern

I love that this bedspread is built one small square at a time. I can work a medallion on the sofa, in the car or at the kitchen table, and every finished square feels like a little win.

The soft lilac and the open lace make a bedroom feel calm and romantic. It is a project I would happily give as a wedding or anniversary gift.
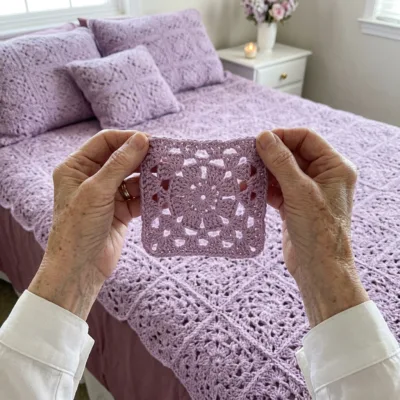

Switch Things Up

Try ivory, powder blue or blush pink for a different mood. Make 4 by 5 squares for a sofa throw, or 3 by 3 squares for a baby blanket. Join two squares for a matching pillow cover, or swap the picot edge for a simple shell edge.


Materials Needed

— Main Fabric

01 Soft lilac DK weight mercerized cotton yarn for 72 squares: about 3,960 g (about 9,900 m / 10,800 yd)
02 Soft lilac DK weight cotton for joining and the border: about 540 g (about 1,350 m / 1,480 yd)
03 Optional: a deeper mauve or lilac sheet to lie under the open lace

— Tools Required

04 3.5 mm (E-4) crochet hook
05 Yarn needle
06 Stitch markers
07 Scissors
08 Blocking mats and pins
09 Measuring tape

The Free Pattern

Intermediate 170-210 Hours

0% complete

— Lace Square (Make 72, lilac) :

Use the 3.5 mm hook. Shell = (3 dc, ch 1, 3 dc) worked in the same arch. Mark the four corners with stitch markers and count the arches on each side after every arch round.
Rnd 1: Make a magic ring. Ch 3 (counts as dc), 19 dc in ring, sl st to top of beginning ch 3. Pull the ring tight. (20 dc)
Rnd 2: Ch 4 (counts as dc and ch 1), (dc in next dc, ch 1) 19 times, sl st to 3rd ch of beginning ch 4. (20 dc, 20 ch-1 sps)
Rnd 3: Sl st into first ch-1 sp. Ch 3 (counts as dc), dc in same sp, 2 dc in next ch-1 sp, 3 dc in next ch-1 sp, 2 dc in each of next 2 ch-1 sps (first petal, 11 dc). *Ch 2, 2 dc in each of next 2 ch-1 sps, 3 dc in next ch-1 sp, 2 dc in each of next 2 ch-1 sps (11 dc); repeat from * 2 more times. Ch 1, hdc in top of beginning ch 3 (this counts as the last ch-2 corner sp). (44 dc, 4 ch-2 corner sps)
Rnd 4: Ch 1. (Sc, ch 5, sc, ch 5, sc) in the ch-2 sp made by the hdc. *(Ch 5, skip 2 dc, sc in next dc) 3 times, ch 5, skip last 2 dc of the petal, (sc, ch 5, sc, ch 5, sc) in next ch-2 corner sp; repeat from * 2 more times. (Ch 5, skip 2 dc, sc in next dc) 3 times, ch 5, skip last 2 dc, sl st to first sc. (24 sc, 24 ch-5 arches: 4 per side and 2 at each corner)
Rnd 5: Sl st into the next ch-5 arch. Ch 3 (counts as dc), 2 dc, ch 1, 3 dc in same arch (first shell). *(3 dc, ch 3, 3 dc) in next sc (corner), shell in each of next 6 arches; repeat from * 2 more times. (3 dc, ch 3, 3 dc) in next sc, shell in each of next 5 arches, sl st to top of beginning ch 3. (24 shells, 4 ch-3 corner sps, 168 dc)
Rnd 6: Sl st in each of next 2 dc and into the ch-1 sp of the first shell. Ch 1, sc in same sp. *Ch 6, sc in next ch-3 corner sp, ch 6, sc in next shell, (ch 6, sc in next shell) 4 times, ch 6, sc in next shell; repeat from * 2 more times. Ch 6, sc in next ch-3 corner sp, ch 6, sc in next shell, (ch 6, sc in next shell) 4 times, ch 6, sl st to first sc. (28 sc, 28 ch-6 arches: 5 per side and 2 at each corner)
Rnd 7: Sl st into the next ch-6 arch. Ch 3, 2 dc, ch 1, 3 dc in same arch (first shell). *(3 dc, ch 3, 3 dc) in next sc (corner), shell in each of next 7 arches; repeat from * 2 more times. (3 dc, ch 3, 3 dc) in next sc, shell in each of next 6 arches, sl st to top of beginning ch 3. (28 shells, 4 ch-3 corner sps, 192 dc)
Rnd 8: Sl st in each of next 2 dc and into the ch-1 sp of the first shell. Ch 1, sc in same sp. *Ch 6, sc in next ch-3 corner sp, ch 6, sc in next shell, (ch 6, sc in next shell) 5 times, ch 6, sc in next shell; repeat from * 2 more times. Ch 6, sc in next ch-3 corner sp, ch 6, sc in next shell, (ch 6, sc in next shell) 5 times, ch 6, sl st to first sc. (32 sc, 32 ch-6 arches: 6 per side and 2 at each corner)
Rnd 9: Sl st into the next ch-6 arch. Ch 3, 2 dc, ch 1, 3 dc in same arch (first shell). *(3 dc, ch 3, 3 dc) in next sc (corner), shell in each of next 8 arches; repeat from * 2 more times. (3 dc, ch 3, 3 dc) in next sc, shell in each of next 7 arches, sl st to top of beginning ch 3. (32 shells, 4 ch-3 corner sps, 216 dc)
Rnd 10: Sl st in each of next 2 dc and into the ch-1 sp of the first shell. Ch 1, sc in same sp. *Ch 6, sc in next ch-3 corner sp, ch 6, sc in next shell, (ch 6, sc in next shell) 6 times, ch 6, sc in next shell; repeat from * 2 more times. Ch 6, sc in next ch-3 corner sp, ch 6, sc in next shell, (ch 6, sc in next shell) 6 times, ch 6, sl st to first sc. (36 sc, 36 ch-6 arches: 7 per side and 2 at each corner)
Rnd 11: Sl st into the next ch-6 arch. Ch 3, 2 dc, ch 1, 3 dc in same arch (first shell). *(3 dc, ch 3, 3 dc) in next sc (corner), shell in each of next 9 arches; repeat from * 2 more times. (3 dc, ch 3, 3 dc) in next sc, shell in each of next 8 arches, sl st to top of beginning ch 3. (36 shells, 4 ch-3 corner sps, 240 dc)
Rnd 12: Ch 1, sc in same st (the first dc of the first shell). Sc in each remaining dc, 2 sc in each ch-1 sp, and (sc, ch 2, sc) in each ch-3 corner sp around. Sl st to first sc. Fasten off and weave in ends. (320 sc: 80 sc on each side including the 2 corner sc, 4 ch-2 corner sps)
Block each square to about 12 in by 12 in. If yours is a different size, change your hook size so all 72 squares match.

— Layout :

Arrange the 72 lilac squares in 9 rows of 8 squares (8 across, 9 down). Before the border the cover measures about 96 in by 108 in.
Turn every square the same way so the flower centers line up and the corner ch-2 sps meet neatly at each seam.

— Border (lilac) :

Use the 3.5 mm hook. The top and bottom edges have 8 squares each and the two long edges have 9 squares each. Count your stitches on each side before you start Rnd 2.
Rnd 1: Join yarn with a sl st in any outer corner ch-2 sp. Ch 1, (sc, ch 2, sc) in same sp. Work 1 sc in each sc along the edge of every square, and 1 sc in each corner ch-2 sp at every seam (2 sc per seam). Work (sc, ch 2, sc) in each outer corner ch-2 sp. Sl st to first sc. (654 sc on each top and bottom side, 736 sc on each long side, 8 corner sc, 4 corner ch-2 sps, 2,788 sc total)
Rnd 2: Sl st into the first corner ch-2 sp. Ch 3 (counts as dc), 2 dc, ch 2, 3 dc in same sp. (3 dc in next sc, skip 1 sc) 328 times, (3 dc, ch 2, 3 dc) in next corner ch-2 sp. (3 dc in next sc, skip 1 sc) 369 times, (3 dc, ch 2, 3 dc) in next corner ch-2 sp. (3 dc in next sc, skip 1 sc) 328 times, (3 dc, ch 2, 3 dc) in next corner ch-2 sp. (3 dc in next sc, skip 1 sc) 369 times. Sl st to top of beginning ch 3. (1,394 groups of 3 dc along the sides, 4 corners of 6 dc, 4,206 dc total)
Rnd 3: Ch 1. *Sc in first dc of a 3-dc group, (sc, ch 3, sl st in 3rd ch from hook, sc) in next dc, sc in next dc; repeat from * across every group of 3 dc around, and work (sc, ch 3, sl st in 3rd ch from hook, sc) in each corner ch-2 sp. Sl st to first sc. Fasten off and weave in ends. (5,616 sc, 1,406 picots)

Assembly Instructions

  1. Block all 72 lace squares to the same size, about 12 in by 12 in, and let them dry completely.
  2. Lay the squares out in 9 rows of 8, with every flower center turned the same way.
  3. Whipstitch the squares into rows with a yarn needle and lilac yarn, matching the stitches and the corner ch-2 sps on each side.
  4. Whipstitch the 9 rows together the same way, matching the seams so the corners meet in a neat cross.
  5. Weave in all ends, then work Border Rnd 1 around the whole cover, counting 654 sc on each short side and 736 sc on each long side.
  6. Work Border Rnd 2 and Rnd 3 to finish the picot scalloped edge, then block the whole cover lightly.
  7. Lay it over a deeper mauve sheet so the open lace and the flower centers stand out.

Common Mistakes & How to Fix Them

Losing count of the arches. After each arch round, check for 4, 5, 6 and then 7 arches on each side, with 2 arches at every corner.

Working the wrong number of dc in a petal. Each of the 4 petals in Rnd 3 has exactly 11 dc, so count them before moving on.

Making squares in different sizes. Swatch one square first and block them all to 12 in so the grid and the border counts stay even.

Skipping the border count. Check 654 and 736 sc on the sides before Rnd 2 so the dc groups end exactly at each corner.


Denise

Denise designs warm, detailed home decor crochet patterns with a love for lace, flowers and cozy bedrooms.


Important Notes

Gauge: one lace square should measure about 12 in by 12 in after blocking. Yarn amounts are estimates, so buy about 10 percent extra.

Block the squares before joining. Cotton relaxes with blocking and the lace opens evenly.

The open lace shows whatever lies under it. I like a deeper mauve sheet underneath so the stitches stand out.

Wash gently in cool water and lay flat to dry, then reshape the edge while it is damp.


I hope you enjoy every little flower center as much as I do. Take your time, block as you go, and send me a note when your bedroom turns soft and lilac.

Crochet Abbreviations

01 ch — chain
02 sl st — slip stitch
03 sc — single crochet
04 hdc — half double crochet
05 dc — double crochet
06 sp — space
07 sps — spaces
08 st — stitch
09 Rnd — round

You Ask, We Answer

What size is the finished bed cover?

It measures about 96 by 108 inches, which covers a queen bed down to the floor on both sides. Use fewer squares for a throw or baby blanket.

Can I use a different yarn weight?

Yes. Lighter cotton makes a lacier square and needs more squares for the same size, while bulkier yarn grows faster but looks heavier. Swatch one square first and adjust the number of squares.

How do I wash and care for it?

Wash gently in cool water or on a delicate cycle in a mesh bag, then lay it flat to dry and reshape the edge while it is damp.