
Sage and Mauve Floral Bed Cover Crochet Pattern
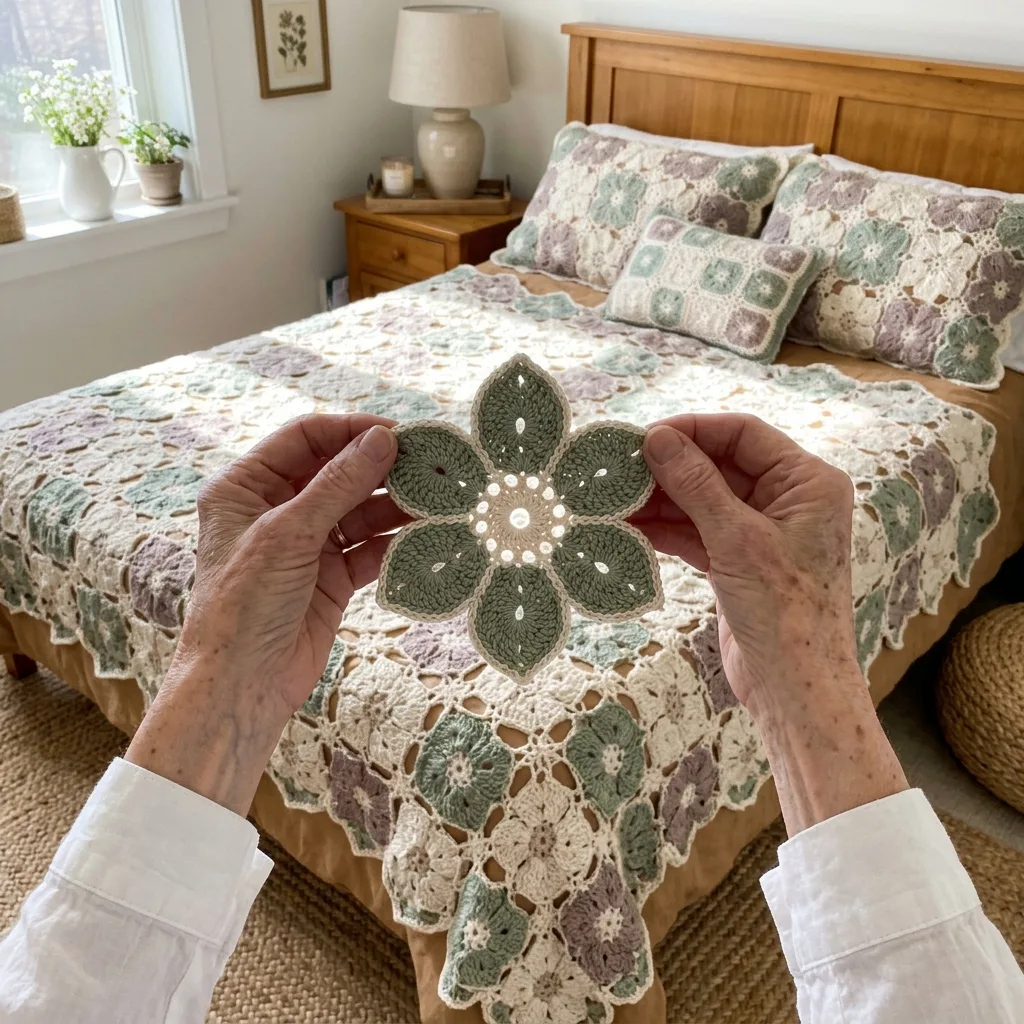
You need to be comfortable with dc, tr and joining motifs as you go.
Each flower is small, so you can make the cover one motif at a time.
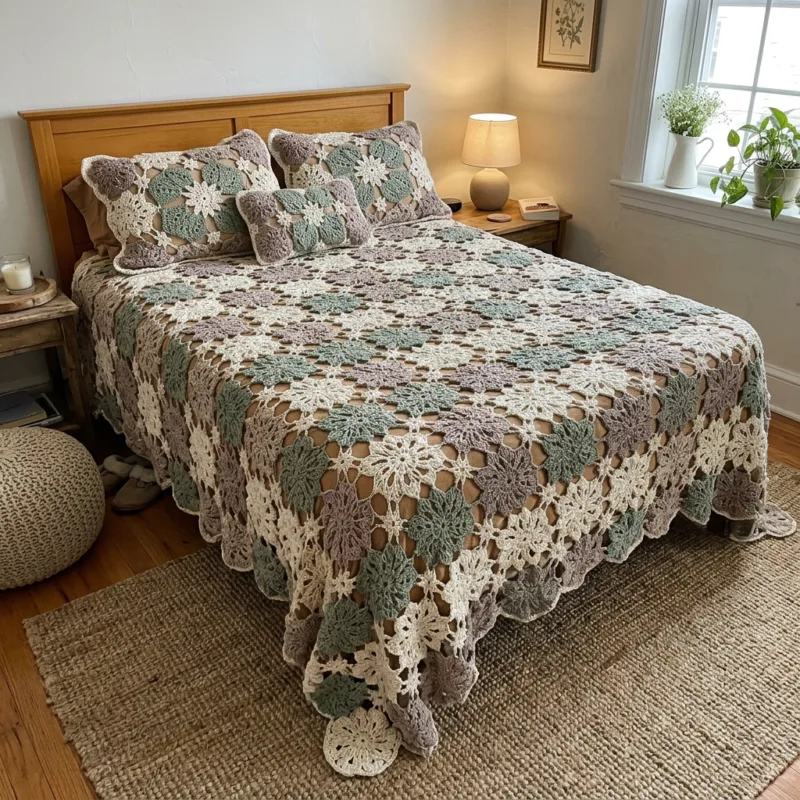
Soft sage, dusty mauve and cream flowers cover the whole bed in a lacy layer.
About This Sage and Mauve Floral Bed Cover Crochet Pattern Pattern
This bed cover is made from 374 small six-petal flowers joined together at the petal tips. Cream, sage and dusty mauve flowers sit side by side, and little open stars form between the flowers where three meet. It finishes at about 88 by 96 inches, which covers a queen bed and falls over the sides.
You will use basic stitches (sc, hdc, dc and tr), changing colors, joining as you go and a simple shell edge. It suits anyone who likes portable projects and wants a big, impressive make for the bedroom.
Why You'll Love This Sage and Mauve Floral Bed Cover Crochet Pattern Pattern
I love this project because every flower fits in a small bag. I can make one at the kitchen table, in the car or on the sofa, and I never feel overwhelmed by a huge blanket on my lap.
The soft colors also make a bedroom feel calm and cozy. It is a wonderful gift for a wedding or a big family occasion, and it is a lovely way to use up cotton yarn from other projects.
Switch Things Up
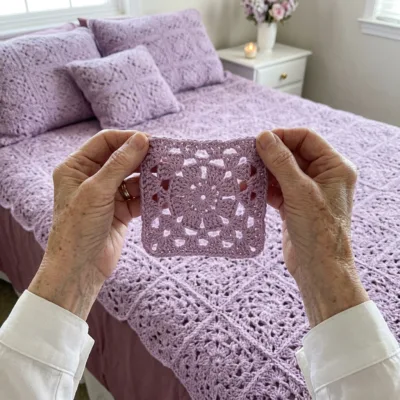
Try a blue, grey and cream palette for a seaside bedroom, or soft pink, cream and gold for a warmer look. For a baby blanket, join 8 rows of 7 flowers, which finishes at about 37 by 38 inches. For a sofa throw, make 12 rows of 10 flowers. You can also make a few extra flowers and sew them onto cotton pillow covers, or swap the shell edge for a plain round of single crochet.
Materials Needed
— Main Fabric
— Tools Required
The Free Pattern
0% complete
— Flower Motif (Make 374: about 214 cream, 107 sage, 53 mauve) :
— Layout :
— Border (Cream) :
Assembly Instructions
- Make all 374 flower motifs using the colors in the layout plan, and make a few spares.
- Block each flower lightly so they are all the same size and the petals lie flat.
- Lay the flowers out on a large floor in 22 rows of 17, shifting every second row half a flower, and check the color balance.
- Join the flowers row by row at the ch-3 tip loops, using the ch 1, sl st, ch 1 join described in the motif, so the cover grows evenly.
- Join the finished rows to each other using the lower tips of each flower, working from left to right on every row.
- Weave in all ends securely, then work Rnd 1 of the border around the outside of the joined flowers.
- Work the shell edge in Rnd 2, then block the whole cover gently on a clean floor with pins so the shells lie flat and the stars between flowers stay open.
Common Mistakes & How to Fix Them
Joining the flowers with the wrong tips facing. Always keep one petal tip pointing left and one pointing right, so the rows line up.
Making flowers in different sizes because of loose or tight tension. Check each flower against the first one and use a smaller or larger hook if needed.
Not counting the exposed petals before starting the border. Count first and adjust, because an uneven count makes the shell repeat finish badly.
Joining all the flowers in the wrong order and leaving loose ends to the end. Weave in ends as you go, because the lacy gaps make it hard later.

You Might Also Like
Important Notes
Each flower should measure about 5 inches across after blocking. Make a test flower before buying all the yarn, because the size and yarn amounts are estimates and depend on your tension.
Block the finished cover gently with pins and let it dry flat for at least 24 hours. Cotton is heavy when wet, so use plenty of towels.
Yarn amounts include the edge. Dye lots can differ, so buy extra cream and sage at the start.
Wash on a gentle cycle in cool water and use a color catcher, because the sage and mauve flowers can bleed onto the cream. Dry flat.
I hope you enjoy making this bed cover as much as I enjoyed designing it. Go slowly, make a few flowers each day, and soon you will have a bedspread you can be proud of.
Crochet Abbreviations
You Ask, We Answer
What size is the finished bed cover?
It is about 88 by 96 inches with 22 rows of 17 flowers. This covers a queen bed with a drop on each side. Make fewer rows or fewer flowers per row for other sizes.
Can I use a different yarn weight?
Yes. A thinner cotton and a smaller hook gives smaller flowers, so you would need more of them. A thicker yarn gives larger flowers and needs fewer. Make one test flower and measure it before you change the layout.
How do I wash and care for the cover?
Wash on a gentle cycle in cool water with a color catcher, because the dark flowers can bleed onto the cream. Dry flat and reshape the shells and stars while the cover is damp.
Success!
Thanks for subscribing — check your inbox for a welcome note.
Abbreviations
- ch — chain
- sl st — slip stitch
- sc — single crochet
- hdc — half double crochet
- dc — double crochet
- tr — treble crochet
- sp — space
- st — stitch
- Rnd — round