
Blood Red Halloween Ripple Bed Cover Crochet Pattern
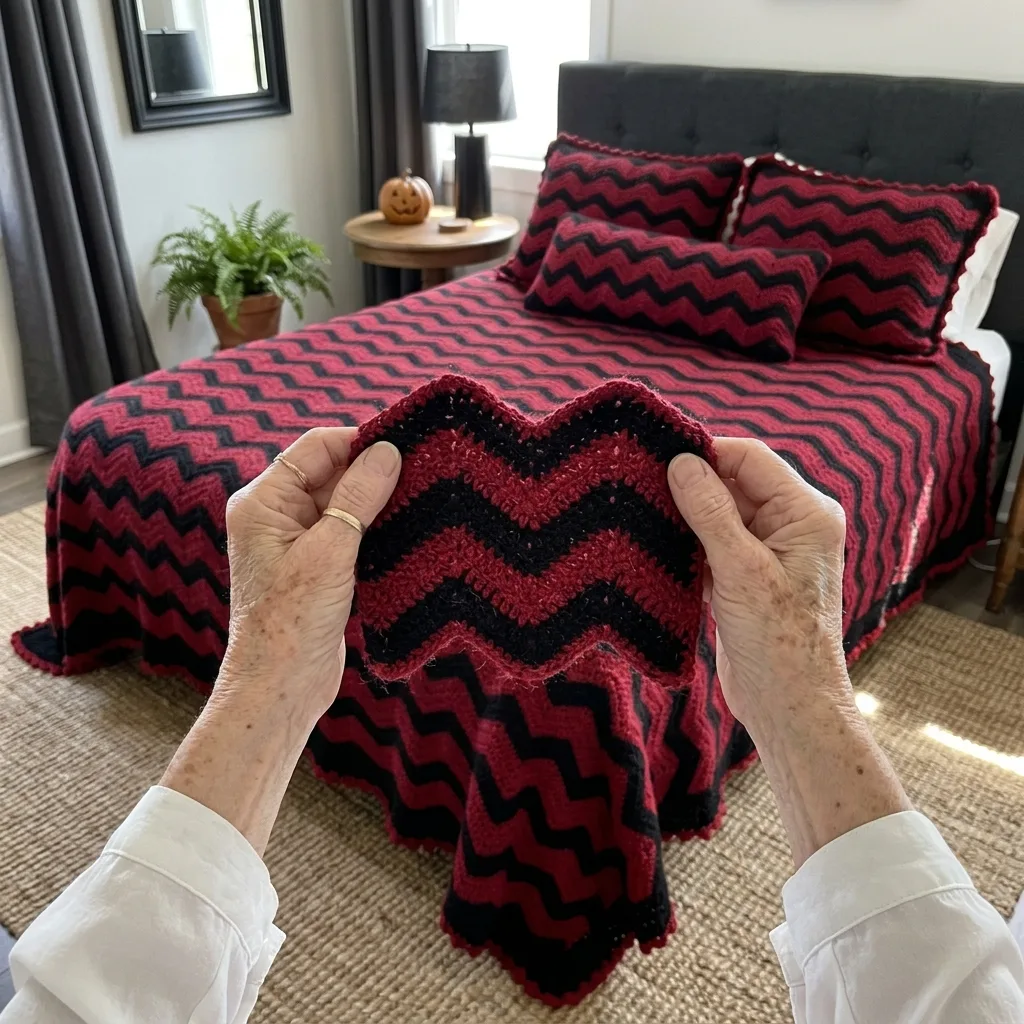
Simple double crochet rows with easy increases and decreases.
One long panel, so every row brings you closer to the end.
Pointed ripple peaks and red picot spikes give a vampire look.
About This Blood Red Halloween Ripple Bed Cover Crochet Pattern Pattern
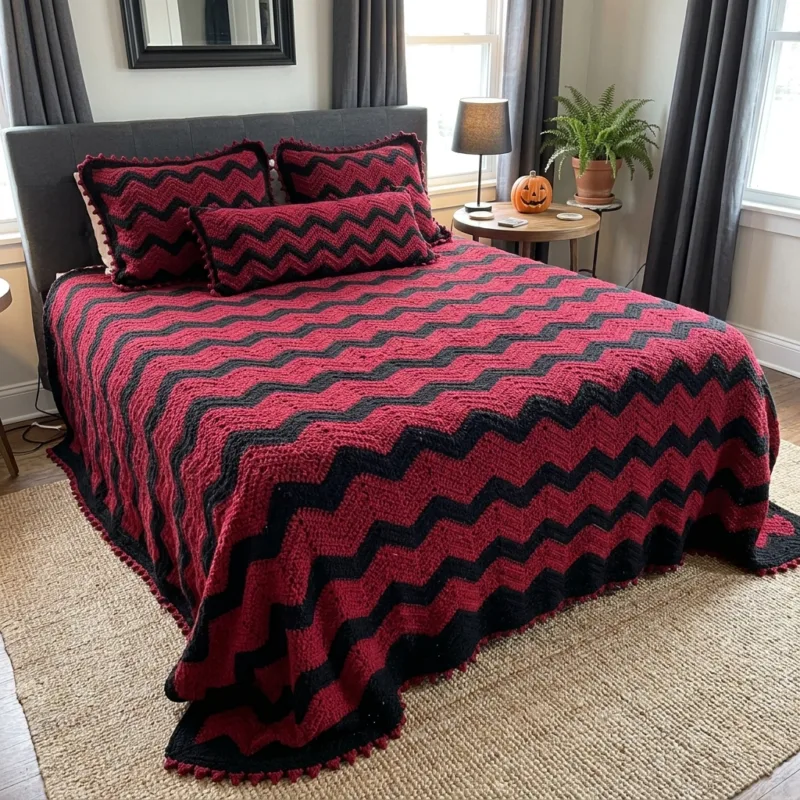
This bed cover is one big ripple panel worked in deep blood red and black. Six red rows are followed by four black rows, and the stripes repeat 11 times. The zigzag peaks line up from the first row to the last, so the whole cover looks like rolling red and black waves.
It finishes at about 100 by 100 inches, a generous king size that drapes well over the sides of the bed. The edge is black with a row of tiny red picot points that look like little fangs. It suits anyone who loves Halloween and wants a bold bedroom piece made from one simple repeat.
Why You'll Love This Blood Red Halloween Ripple Bed Cover Crochet Pattern Pattern
I love ripples because once you learn the repeat, your hands know what to do. I can watch a movie and still keep the peaks sharp and the stripes neat.
The red and black waves look dramatic on a bed, and the cover is warm and heavy for cold October nights. It also makes a wonderful gift for someone who loves the spooky season.
Switch Things Up
Try orange and black for a pumpkin look, or purple and black for a witchy feel. For a throw, chain 147 and work 60 rows to get about 48 by 54 inches. Change the stripe order to 3 rows red and 3 rows black for a busier wave. Skip the picots and finish with a plain black round for a softer edge.
Materials Needed
— Main Fabric
— Tools Required
The Free Pattern
0% complete
— Ripple Panel (Make 1) :
— Color Layout :
— Border :
Assembly Instructions
- Chain 291 with red and work Row 1 into the chain, then work Rows 2 to 110 following the stripe repeat.
- Change color every 6 and 4 rows as in the Color Layout, and carry the unused yarn loosely up the side edge.
- After Row 110, weave in any loose ends and block the panel flat, pinning each peak so the zigzag is sharp.
- Work Border Rounds 1 to 3 in black, placing a marker in each corner to keep the corners neat.
- Check that you have 826 sc after Round 3 before you start the picot round.
- Work Round 4 in red to add the picot spikes, then weave in all ends and block the border lightly.
Common Mistakes & How to Fix Them
Losing a stitch in the valleys. Count 289 sts at the end of the first few rows, and check that every dc3tog uses 3 sts.
Working the peak into the wrong st, which makes the zigzag lean. Always put the 3 dc into the middle st of the previous peak.
Pulling the carried yarn too tight at the side, which puckers the edge. Leave the strand loose and let the border hide it.
Miscounting the border. Use markers at the corners and check the stitch total after Round 1.

You Might Also Like
Important Notes
Twelve stitches (one peak to the next) should measure about 4 inches and 4 rows about 3.5 inches after blocking. Make a short test strip before you buy all the yarn.
Yarn amounts are estimates. Buy a little extra of each color to be safe.
Wash cold on a gentle cycle with a color catcher, because red cotton can bleed onto black. Dry flat or tumble dry on low.
I hope this red and black ripple keeps you cozy all through Halloween season. Take it one stripe at a time and enjoy watching the waves grow.
Crochet Abbreviations
You Ask, We Answer
What size is the finished bed cover?
It measures about 100 by 100 inches with the border, which covers a king size bed with a generous drop.
Can I use a different yarn weight or make it smaller?
Yes. Use any multiple of 12 plus 3 for the foundation chain. For a throw, chain 147 and work 60 rows. A lighter yarn makes a smaller cover, so adjust the chain and the rows.
How do I wash it?
Wash cold on a gentle cycle with a color catcher, then dry flat or tumble dry on low. Wash it on its own the first time.
Success!
Thanks for subscribing — check your inbox for a welcome note.
Abbreviations
- ch — chain
- sl st — slip stitch
- sc — single crochet
- dc — double crochet
- dc2tog — double crochet 2 stitches together
- dc3tog — double crochet 3 stitches together
- st — stitch
- sts — stitches