
Sweet Little Parrot Amigurumi Pattern
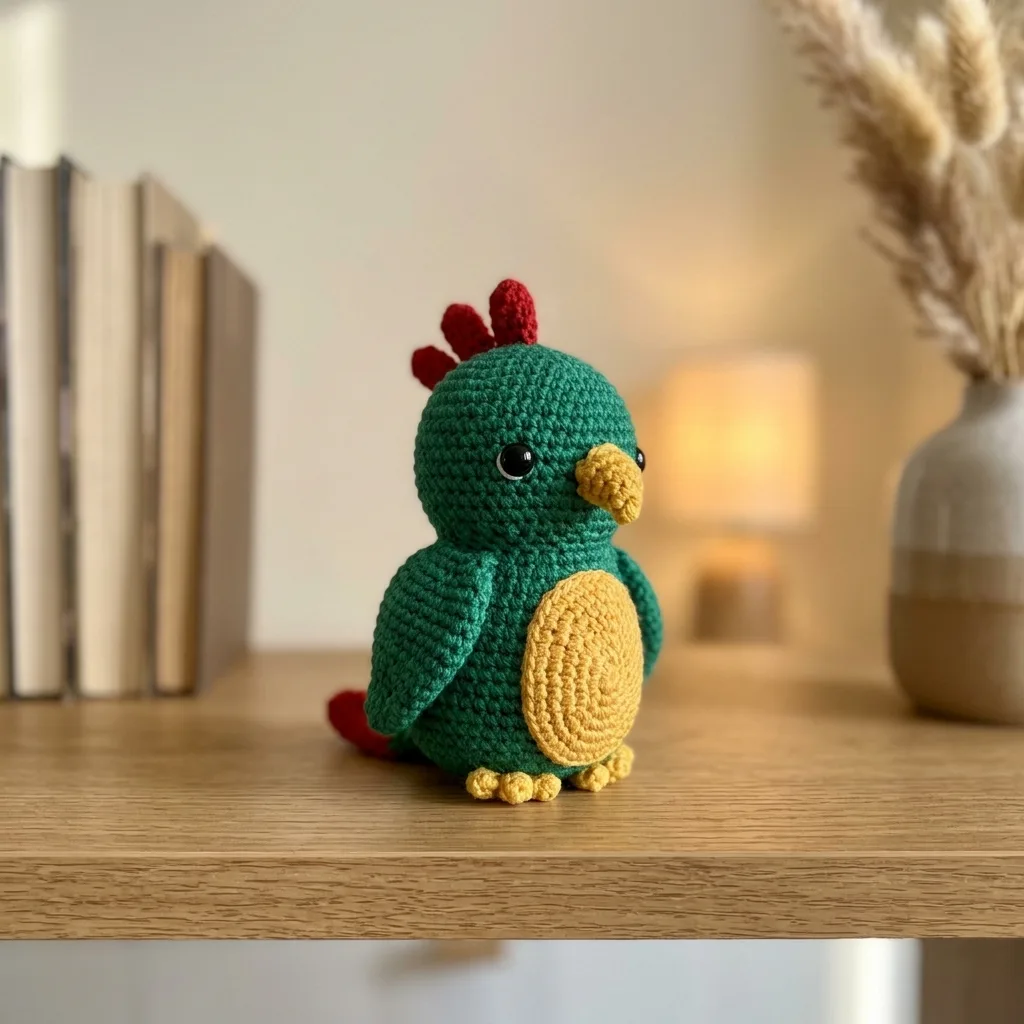
Basic stitches and simple spiral rounds are all you need.
Most people finish this parrot in one relaxed afternoon.
Bright colors and a cheerful face make this a gift that gets smiles.
About This Sweet Little Parrot Amigurumi Pattern Pattern
This little parrot is worked in worsted weight yarn and stands about 6 inches (15 cm) tall. It has a chubby green body, a soft yellow belly, a small hooked beak and a red crown and tail.
You will use a magic ring, single crochet, increases and decreases, then sew the stuffed pieces together. It suits a confident beginner who wants a cute first animal.
Why You'll Love This Sweet Little Parrot Amigurumi Pattern Pattern
I love how much personality this little bird has for such a simple make. The three red tufts on top give it a cheeky look, and the round tummy is perfect for hugging.
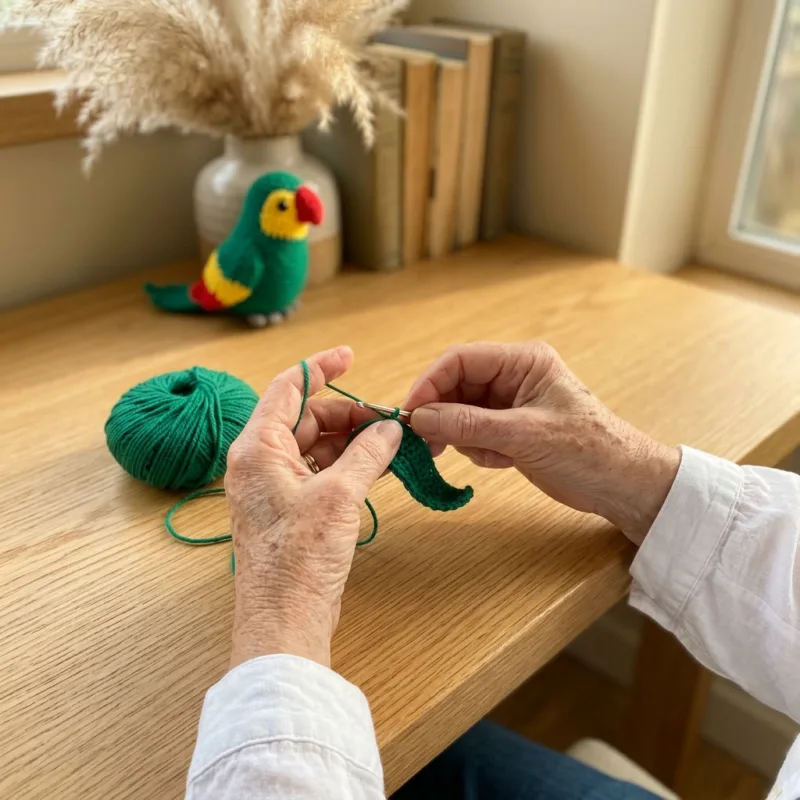
I made mine on a quiet afternoon with a cup of tea. It sits on my shelf now and brightens the whole corner.
Switch Things Up
Try a blue and yellow macaw with a white face patch. Make a tiny pink parrot in cotton yarn for a baby shelf. Use chunky yarn and a larger hook for a big cuddly bird. Add a loop of yarn to the top and turn it into a bag charm.
Materials Needed
— Main Fabric
— Tools Required
The Free Pattern
0% complete
— Body :
— Belly Patch :
— Wing (Make 2) :
— Tail :
— Beak :
— Crown Tuft (Make 3) :
— Feet (Make 2) :
Assembly Instructions
- Pin the yellow belly patch to the front of the body, centered below the eyes, from about Round 11 to Round 17. Sew it on with small whipstitches all around.
- Sew the beak between the eyes at about Round 9 to Round 11, with the tip pointing down. Add a few stitches inside the opening so it stays firm.
- Sew the three red crown tufts in a row on top of the head, near Round 2 and Round 3. Let them lean slightly forward.
- Flatten each wing and sew it to the side of the body between Round 11 and Round 15, with the narrow end pointing down.
- Sew the flat top edge of the red tail to the back of the body around Round 17 to Round 19, so it fans out behind.
- Sew the two yellow feet to the bottom front of the body near Round 18 and Round 19, side by side, so the parrot sits steady.
- If you like, add a small felt rim around each eye or stitch tiny eyebrow lines with black floss. Weave in all ends.
Common Mistakes & How to Fix Them

You Might Also Like

Important Notes
I hope this little parrot brings you as much joy as it brought me. Happy crocheting, and please send me a photo of yours.
Crochet Abbreviations
You Ask, We Answer
How big is the finished parrot?
With worsted weight yarn and a 3.5 mm hook, it stands about 6 inches (15 cm) tall.
Can I use a different yarn weight?
Yes. Thinner yarn with a smaller hook makes a tiny parrot, and chunky yarn with a larger hook makes a big one. Keep the stitches tight in any weight.
Is this parrot safe for a child, and can I wash it?
Embroider the eyes and sew all parts on very firmly for a child under 3. Wash it by hand in cool water and let it dry flat.
Success!
Thanks for subscribing — check your inbox for a welcome note.
Abbreviations
- sc — single crochet
- inc — increase (2 sc in the same stitch)
- dec — decrease (sc 2 stitches together)
- ch — chain
- st(s) — stitch(es)
- x — times (repeat the stitches in brackets)