Amanda's Creative Corner Crochet · Kitchen
Free Crochet Patterns Handmade with Love

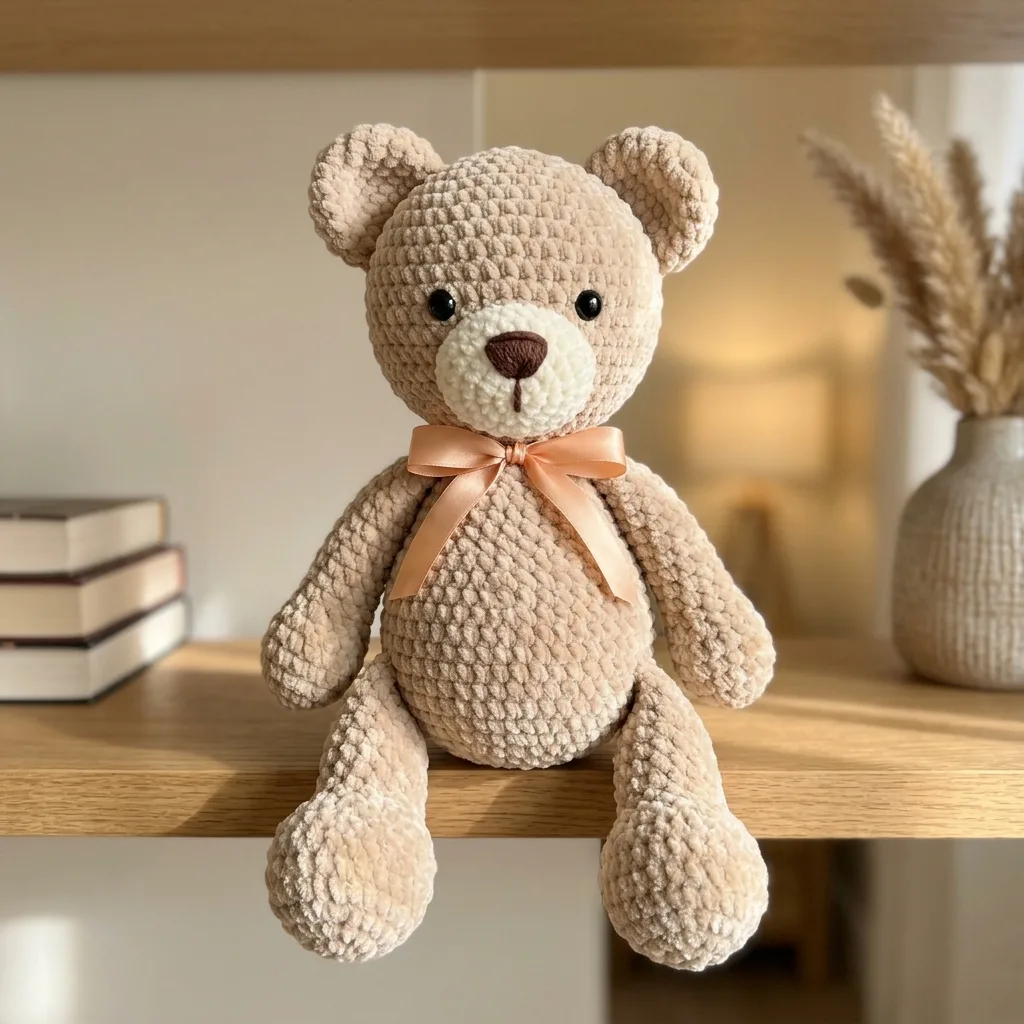
Plush Teddy Bear Amigurumi Pattern with Satin Bow
Jump to Pattern
Plush Teddy Bear Amigurumi Pattern with Satin Bow
10 to 12 hours 17 made this
Beginner Friendly

Simple spiral rounds and basic shaping are all you need.

About 11 Hours

Work it up over a relaxed weekend of cozy crochet.

Velvety Soft

Plush yarn gives this bear a huggable, teddy shop feel.

About This Plush Teddy Bear Amigurumi Pattern with Satin Bow Pattern

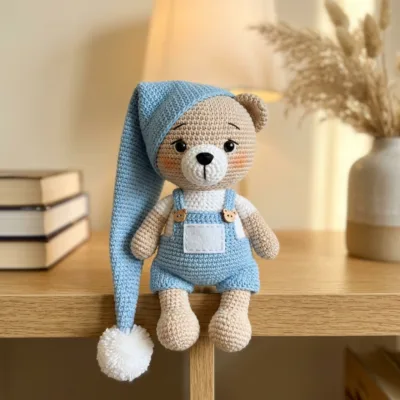
This classic teddy bear stands about 12 inches (30 cm) tall when made with chunky chenille yarn and a 5 mm hook. It is worked in spiral rounds from a magic ring, then stuffed and sewn together. You will make the head, a cream muzzle, round ears, a pear shaped body, long arms and chunky legs.

If you can work single crochet, increases and decreases, you can make this bear. It suits a first amigurumi project and makes a sweet gift for a new baby.
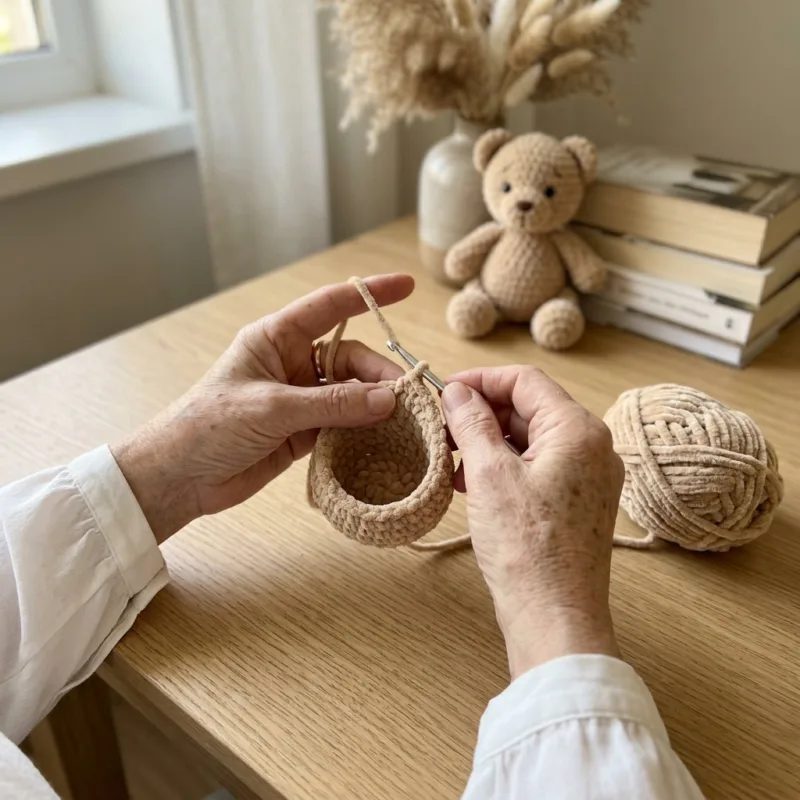
Plush Teddy Bear Amigurumi Pattern with Satin Bow step detail

Why You'll Love This Plush Teddy Bear Amigurumi Pattern with Satin Bow Pattern

I love how soft this little bear feels in my hands. The cream muzzle and the tiny brown nose give him such a gentle face. Tying the peach ribbon around his neck was my favorite last step, because that is when he really came to life.


Switch Things Up

Try soft grey, blush pink or cream yarn for a fresh look. Add a small knitted scarf instead of the ribbon. Make a mini bear with worsted weight yarn and a 3.5 mm hook. Stitch a tiny felt heart on the chest for a baby gift.


Materials Needed

— Main Fabric

01 Chunky (5) chenille velvet yarn in sand beige, about 150 g
02 Chunky chenille velvet yarn in cream white, about 25 g
03 Brown embroidery floss or yarn for the nose, about 3 g
04 Two 10 mm black safety eyes (embroider the eyes instead for children under 3)
05 Polyester fiberfill stuffing, about 150 g
06 Peach satin ribbon, about 1 yard (90 cm) long and 1 inch (2.5 cm) wide

— Tools Required

07 5 mm (H-8) crochet hook
08 Yarn needle
09 Stitch markers
10 Scissors
11 Pins

The Free Pattern

Beginner 10 to 12 hours

0% complete

— Head :

Use sand beige yarn. Work in a continuous spiral from the top of the head down. Mark the first stitch of every round. Plush yarn hides the stitches, so work by feel and count often.
Round 1: 6 sc in magic ring (6)
Round 2: inc in each st around (12)
Round 3: (sc, inc) x 6 (18)
Round 4: (2 sc, inc) x 6 (24)
Round 5: (3 sc, inc) x 6 (30)
Round 6: (4 sc, inc) x 6 (36)
Round 7: (5 sc, inc) x 6 (42)
Round 8-15: sc in each st around (42)
Insert the safety eyes between rounds 11 and 12, about 14 stitches apart, once you have placed the muzzle with pins to check the spacing.
Round 16: (5 sc, dec) x 6 (36)
Round 17: (4 sc, dec) x 6 (30)
Start stuffing firmly now and add more as you go. Shape the head into a round ball.
Round 18: (3 sc, dec) x 6 (24)
Round 19: (2 sc, dec) x 6 (18)
Round 20: (sc, dec) x 6 (12)
Round 21: dec x 6 (6)
Fasten off and leave a long tail. Weave the tail through the front loops of the last 6 stitches, pull tight to close and hide the end inside.

— Muzzle :

Use cream white yarn.
Round 1: 6 sc in magic ring (6)
Round 2: inc in each st around (12)
Round 3: (sc, inc) x 6 (18)
Round 4-6: sc in each st around (18)
Fasten off and leave a long tail for sewing. Stuff lightly with fiberfill.

— Ears (Make 2) :

Use sand beige yarn. Do not stuff.
Round 1: 6 sc in magic ring (6)
Round 2: inc in each st around (12)
Round 3: (sc, inc) x 6 (18)
Round 4-5: sc in each st around (18)
Round 6: (sc, dec) x 6 (12)
Fasten off and leave a long tail. Flatten the ear so the opening is a straight line.

— Body :

Use sand beige yarn. Work from the bottom up in a continuous spiral.
Round 1: 6 sc in magic ring (6)
Round 2: inc in each st around (12)
Round 3: (sc, inc) x 6 (18)
Round 4: (2 sc, inc) x 6 (24)
Round 5: (3 sc, inc) x 6 (30)
Round 6: (4 sc, inc) x 6 (36)
Round 7: (5 sc, inc) x 6 (42)
Round 8-16: sc in each st around (42)
Round 17: (5 sc, dec) x 6 (36)
Round 18-20: sc in each st around (36)
Round 21: (4 sc, dec) x 6 (30)
Stuff firmly and keep adding stuffing as you decrease. Keep the tummy round.
Round 22: (3 sc, dec) x 6 (24)
Round 23: (2 sc, dec) x 6 (18)
Do not close the opening. Add a last pinch of stuffing, fasten off and leave a long tail for attaching the head.

— Arms (Make 2) :

Use sand beige yarn.
Round 1: 6 sc in magic ring (6)
Round 2: inc in each st around (12)
Round 3: (sc, inc) x 6 (18)
Round 4: (sc, dec) x 6 (12)
Round 5-14: sc in each st around (12)
Stuff lightly, more at the paw and less at the top. Flatten the opening, fasten off and leave a long tail for sewing.

— Legs (Make 2) :

Use sand beige yarn. Start with the foot at the bottom.
Round 1: 6 sc in magic ring (6)
Round 2: inc in each st around (12)
Round 3: (sc, inc) x 6 (18)
Round 4: (2 sc, inc) x 6 (24)
Round 5-8: sc in each st around (24)
Round 9: (2 sc, dec) x 6 (18)
Round 10-18: sc in each st around (18)
Stuff firmly, especially the foot. Fasten off and leave a long tail for sewing.

Assembly Instructions

  1. Insert the safety eyes in the head between rounds 11 and 12, about 14 stitches apart, and lock them on the inside.
  2. Pin the muzzle between the eyes at rounds 12 to 17 of the head, stuff it a little more if needed, then sew it on all around.
  3. With brown floss, embroider the nose at the top of the muzzle and add a short straight line down to the mouth.
  4. Sew the ears to rounds 4 to 7 of the head, about 16 stitches apart, with the flat edge against the head.
  5. Sew the head to the body opening at round 23, using the long tail and small tight stitches all around.
  6. Sew the top of each arm to the sides of the body at rounds 18 to 20, so the arms hang down.
  7. Sew the legs to the lower sides of the body at rounds 5 to 8, pointing forward, so the bear can sit.
  8. Tie the satin ribbon in a bow around the neck, weave in all ends and fluff the yarn with your fingers.

Common Mistakes & How to Fix Them


Denise

I am Denise, and I love designing cozy amigurumi that anyone can make.


Important Notes


I hope you enjoy making this little bear. I would love to see yours when he is finished!

Crochet Abbreviations

01 sc — single crochet
02 inc — increase (2 sc in the same stitch)
03 dec — decrease (sc 2 stitches together)
04 st — stitch
05 x — times (repeat the stitches in brackets)

You Ask, We Answer

How big is the finished bear?

He is about 12 inches (30 cm) tall and 6 inches (15 cm) wide with chunky chenille yarn and a 5 mm hook.

Can I use a different yarn weight?

Yes. Worsted weight yarn with a 3.5 mm hook makes a bear of about 8 inches. Jumbo yarn with an 8 mm hook makes a bear of about 18 inches. Change the eye size to match.

Is this bear safe for children and can I wash it?

Yes, if you embroider the face, leave off the ribbon and sew every piece on very firmly. Do not use safety eyes for children under 3. Wash it by hand in cool water and air dry.