
Amanda's Creative Corner Crochet · Kitchen
Free Crochet Patterns Handmade with Love

Powder Blue Lace Bed Cover Crochet Pattern
Jump to Pattern
Powder Blue Lace Bed Cover Crochet Pattern
100-130 Hours 0 made this
Intermediate Level

You need basic stitches and the confidence to work a lace square in the round.

100-130 Hours

Each square takes about two hours, so this is a project for the cozy months.

Heirloom Look

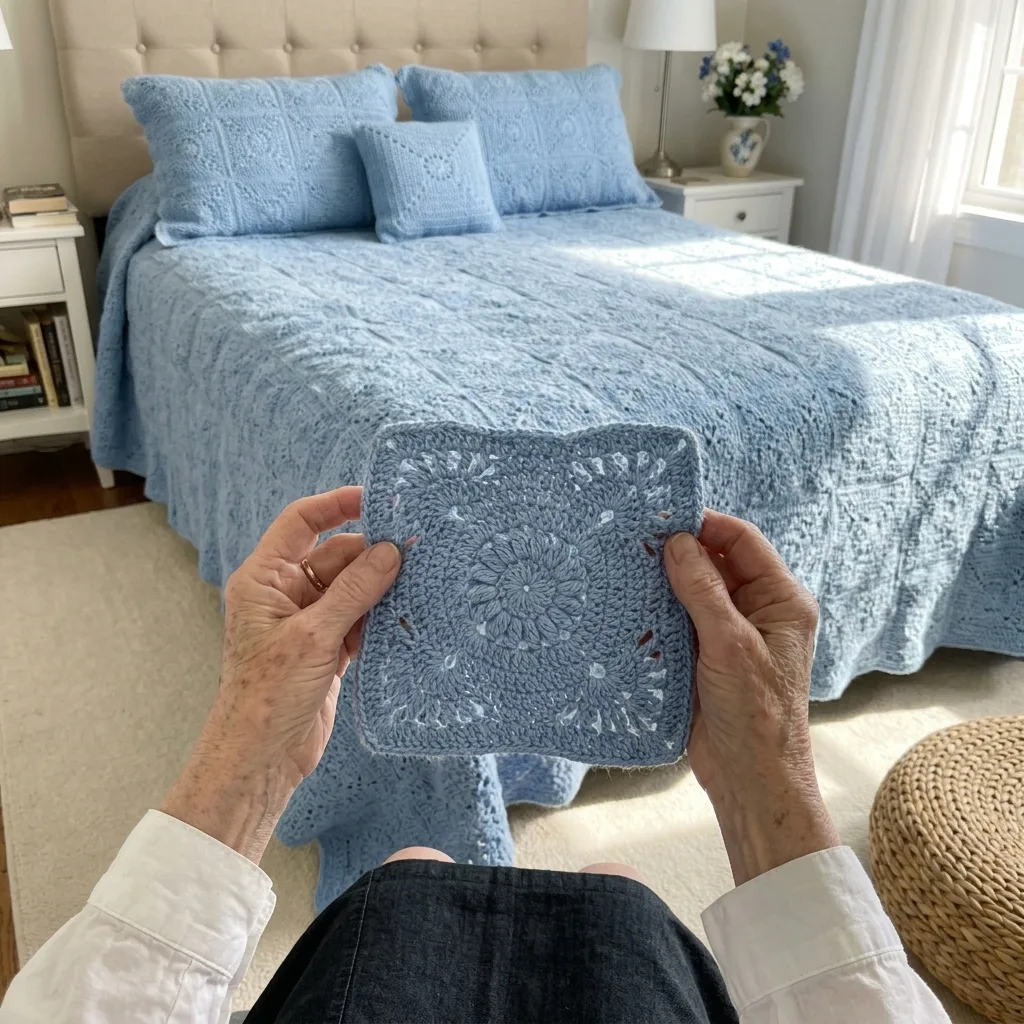
Soft powder blue lace squares joined into a bedspread that looks like it was made for generations.

About This Powder Blue Lace Bed Cover Crochet Pattern Pattern

This bed cover is made from 48 lace squares in soft powder blue. Each square starts with a round flower center and grows into a square with open mesh rounds. The squares are joined in a grid of 6 across and 8 down, then finished with a lacy shell edge.

It finishes at about 78 by 102 inches, which drapes well over a queen bed. You need basic stitches, a magic ring and the patience to join squares. If you can work in the round, you can make it.
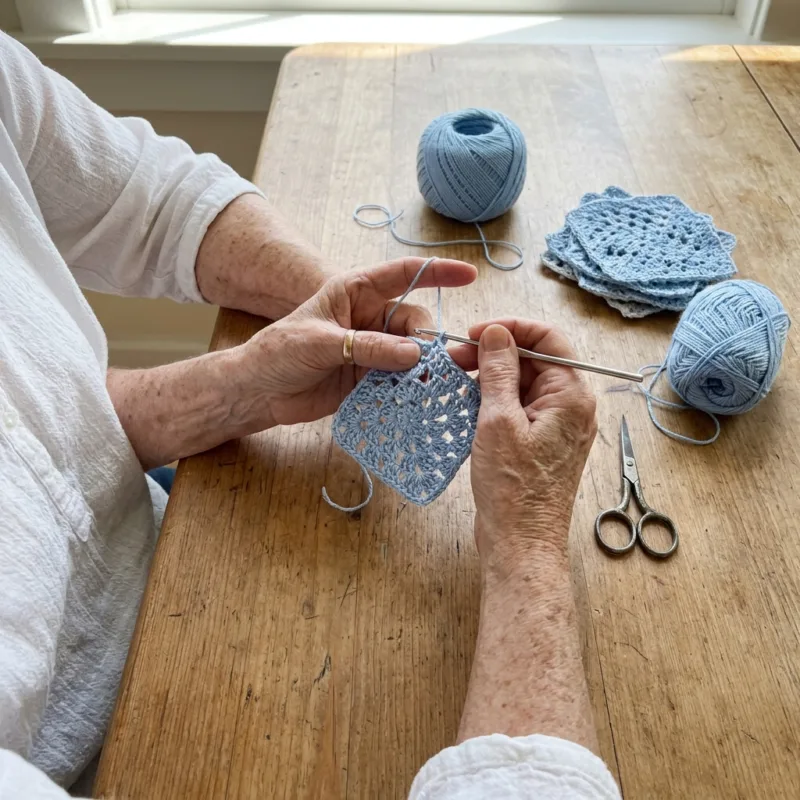
Powder Blue Lace Bed Cover Crochet Pattern step detail

Why You'll Love This Powder Blue Lace Bed Cover Crochet Pattern Pattern

I love this project because every square is small and portable. I crochet one in the afternoon light, then tuck it in my bag. There is no huge blanket on my lap for months.

It is also a lovely gift. A bed cover like this becomes a family keepsake, and the blue goes with almost any bedroom.

Switch Things Up

Try soft sage green, warm cream or a dusty rose for a new look. Make 4 by 6 squares for a sofa throw, or 3 by 4 squares for a baby blanket. You can also work Rounds 1 to 6 only and join four small squares into a matching pillow cover. For a simpler edge, skip the shell round and finish with Border Round 1 only.


Materials Needed

— Main Fabric

01 Worsted weight (size 4) mercerized cotton yarn in powder blue: about 3,150 g (about 6,300 yd) in total
02 About 55 g (115 yd) per square for 48 squares, plus about 500 g (1,000 yd) for joining and the edge

— Tools Required

03 4.5 mm (US 7) crochet hook
04 Yarn needle
05 Stitch markers
06 Scissors
07 Blocking mats and pins
08 Measuring tape

The Free Pattern

Intermediate 100-130 Hours

0% complete

— Lace Square (Make 48, powder blue) :

Each square measures about 12 inches (30 cm) after blocking. Join each round with a sl st unless noted. Work Rounds 1 to 5 as the flower center, then Rounds 6 to 14 square it off.
Round 1: Make a magic ring, ch 3 (counts as dc), 15 dc in the ring, sl st to the top of the beginning ch 3. (16 dc)
Round 2: Ch 1, sc in the same st, ch 3, skip 1 dc, [sc in next dc, ch 3, skip 1 dc] 7 times, sl st to the first sc. (8 sc, 8 ch-3 sps)
Round 3: Sl st into the first ch-3 sp, ch 3 (counts as dc), 4 dc in the same sp, ch 1, [5 dc in next ch-3 sp, ch 1] 7 times, sl st to the top of the beginning ch 3. (40 dc in 8 petals of 5 dc, 8 ch-1 sps)
Round 4: Sl st in each of the next 2 dc to reach the center dc of the first petal, ch 1, sc in the same dc, ch 6, [sc in the center (3rd) dc of the next petal, ch 6] 7 times, sl st to the first sc. (8 sc, 8 ch-6 loops)
Round 5: Sl st into the first ch-6 loop. Loops 1, 3, 5 and 7 are the corners, loops 2, 4, 6 and 8 are the sides. Corner loop: ch 3 (counts as dc), 2 dc, ch 3, 3 dc all in the loop (for later corners: 3 dc, ch 3, 3 dc). Side loop: 7 dc in the loop. Work ch 1 after each loop, skipping the sc between loops. Sl st to the top of the beginning ch 3. (52 dc, 4 corner ch-3 sps, 8 ch-1 sps; each side has 13 dc and 2 ch-1 sps)
Round 6: Ch 1, sc in each dc and in each ch-1 sp around, working 3 sc in each corner ch-3 sp. Sl st to the first sc. (72 sc: 15 sc on each side plus 3 sc in each corner)
Round 7: Sl st to the center sc of a corner. Ch 3 (counts as dc), ch 3, dc in the same sc. *[Ch 1, skip 1 sc, dc in next sc] 8 times, ch 1, skip 1 sc, (dc, ch 3, dc) in the next corner center sc.* Repeat from * to * 2 more times. On the last side work [ch 1, skip 1 sc, dc in next sc] 8 times, ch 1, skip 1 sc, sl st to the top of the beginning ch 3. (40 dc, 36 ch-1 sps, 4 corner ch-3 sps; each side has 10 dc)
Round 8: Sl st into the corner ch-3 sp. Ch 3 (counts as dc), ch 3, dc in the same sp. *[Ch 1, dc in next dc] 10 times, ch 1, (dc, ch 3, dc) in the next corner ch-3 sp.* Repeat from * to * 2 more times. On the last side work [ch 1, dc in next dc] 10 times, ch 1, sl st to the top of the beginning ch 3. (48 dc, 44 ch-1 sps, 4 corner ch-3 sps; each side has 12 dc)
Round 9: Work as Round 8, but work [ch 1, dc in next dc] 12 times on each side. (56 dc, 52 ch-1 sps, 4 corner ch-3 sps; each side has 14 dc)
Round 10: Work as Round 8, but work [ch 1, dc in next dc] 14 times on each side. (64 dc, 60 ch-1 sps, 4 corner ch-3 sps; each side has 16 dc)
Round 11: Work as Round 8, but work [ch 1, dc in next dc] 16 times on each side. (72 dc, 68 ch-1 sps, 4 corner ch-3 sps; each side has 18 dc)
Round 12: Work as Round 8, but work [ch 1, dc in next dc] 18 times on each side. (80 dc, 76 ch-1 sps, 4 corner ch-3 sps; each side has 20 dc)
Round 13: Work as Round 8, but work [ch 1, dc in next dc] 20 times on each side. (88 dc, 84 ch-1 sps, 4 corner ch-3 sps; each side has 22 dc)
Round 14: Ch 1, sc in each dc and in each ch-1 sp around, working 3 sc in each corner ch-3 sp. Sl st to the first sc and fasten off. (184 sc: 43 sc on each side plus 3 sc in each corner)
Block every square to 12 by 12 inches before joining. Pin the corners first, then the sides.

— Layout :

Arrange the 48 squares in 8 rows of 6 squares, all in powder blue. Rotate no squares, so the flower centers all sit the same way. The finished joined panel measures about 72 by 96 inches before the edge.
Joining: Hold two squares with right sides together and whip stitch through the back loops only. Each seam is 47 stitches: 43 side sc plus 2 corner sc at each end, which means the 3-sc corner groups are matched stitch to stitch. Join the squares into 8 strips of 6, then join the 8 strips. (47 stitches per seam)

— Border (Make 1, powder blue) :

The long sides are 8 squares and the short sides are 6 squares. Mark the 4 outer corner center stitches before you start.
Border Round 1: Join yarn at any outer corner center st, ch 1, 3 sc in the corner center st. Sc in every st along the edge, working one sc in each seam st of both squares. On each long side you will have 374 sc between corner centers, so work 2 sc in 2 evenly spaced sts to reach 376. Each short side has 280 sc between corner centers and needs no change. Work 3 sc in each corner center st. Sl st to the first sc. (1,324 sc: 376 on each long side, 280 on each short side, 3 in each corner)
Border Round 2: Sl st to the center st of a corner (the 2nd of the 3 corner sc), ch 3 (counts as dc), 8 dc in the same st. Then, along each side: sc in next st, [skip 3 sts, 7 dc in next st, skip 3 sts, sc in next st] 46 times on a long side (34 times on a short side), skip 3 sts, 7 dc in next st, skip 3 sts, then work 9 dc in the next corner center st. Sl st to the top of the beginning ch 3. (164 shells of 7 dc and 4 corner shells of 9 dc, 164 sc; 47 shells on each long side, 35 on each short side)
Border Round 3: Sl st in each dc to the 1st dc of the first shell. In each 7-dc shell work sc in the 1st dc, [ch 3, sc in next dc] 6 times. In each 9-dc corner shell work sc in the 1st dc, [ch 3, sc in next dc] 8 times. Work 1 sc in each sc between shells. Sl st to the first sc and fasten off. (1,348 sc and 1,016 ch-3 sps)

Assembly Instructions

  1. Block all 48 lace squares to 12 by 12 inches and let them dry flat.
  2. Lay the squares out on a bed or floor in 8 rows of 6 squares, with all the flower centers facing the same way.
  3. Whip stitch the squares into 8 strips of 6, using the back loops only and 47 stitches per seam.
  4. Join the 8 strips side by side with the same whip stitch, matching the corners at every crossing.
  5. Pin the joined panel to a large blocking surface and steam lightly to smooth the seams.
  6. Work Border Round 1 around the whole panel, adjusting the long side count to 376 sc as written.
  7. Work Border Rounds 2 and 3 to finish the shell edge, then weave in all ends.

Common Mistakes & How to Fix Them

Skipping the blocking step. Unblocked squares curl and are hard to match at the seams, so block every square to the same size.

Losing count in the mesh rounds. Place a stitch marker in each corner ch-3 space and check that each side has the right dc count before you move on.

Joining squares in different directions. Keep every flower center facing the same way so the lace reads evenly across the bed.

Starting the shell edge without adjusting the stitch count. Check the long and short side totals first, because the shells only fit when the counts divide by 8.


Denise

Denise designs cozy crochet patterns for home, with clear instructions that suit makers who love lace and heirloom projects.


Important Notes

Gauge and size are estimates from a photo. Work one full square first and block it. If it measures more or less than 12 inches, change your hook size and recalculate the grid and edge counts.

Yarn amounts are estimates. Buy all your yarn in the same dye lot, with a little extra in case you tighten or loosen your tension.

Machine wash cold on a gentle cycle and dry flat, or follow the label on your cotton yarn.


I hope you enjoy every square of this one. Take your time, block as you go, and send me a picture of your first finished square. Happy crocheting!

Crochet Abbreviations

01 ch — chain
02 sl st — slip stitch
03 sc — single crochet
04 dc — double crochet
05 sp — space
06 sps — spaces
07 st — stitch
08 sts — stitches

You Ask, We Answer

How big is the finished bed cover?

About 78 by 102 inches with the shell edge, made from 48 squares of 12 inches each in a 6 by 8 grid. It drapes over a queen bed with a generous drop.

Can I use a different yarn weight or make it a different size?

Yes. A thinner cotton with a smaller hook gives a finer lace square, so you may need more rounds to reach 12 inches. For another size, change the grid, for example 4 by 6 squares for a throw, and recalculate the border so the side counts divide by 8.

How do I wash and care for it?

Wash cold on a gentle cycle and dry flat. Cotton lace holds its shape best if you reshape it while damp.





