
Plush Turtle Amigurumi Crochet Pattern

Only sc, increases and decreases, worked in easy spiral rounds.
About 3 to 5 hours, thanks to chunky yarn and just three simple pieces.
Velvety chenille makes a cuddly little turtle that is lovely to give.
About This Plush Turtle Amigurumi Crochet Pattern Pattern
This plush turtle is about 8 inches wide from flipper tip to flipper tip, with a round cornflower blue shell and a sky blue head and flippers. He is worked in chunky chenille yarn, so he grows fast and feels very soft.
You will use a magic ring, increases, decreases and a little sewing. He suits anyone who has made a ball or two and wants a cute first animal.
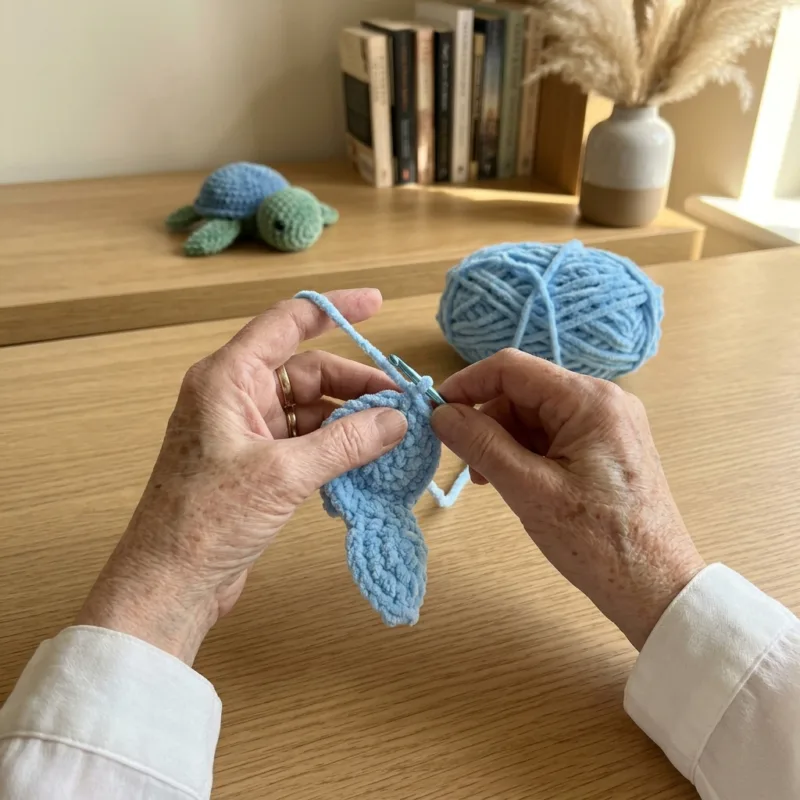
Why You'll Love This Plush Turtle Amigurumi Crochet Pattern Pattern
I love how the soft velvety yarn hides tiny stitch wobbles, so he looks neat even on a first try. The two shades of blue look calm and fresh together.
He also works up in an afternoon, which makes him a great last minute gift.
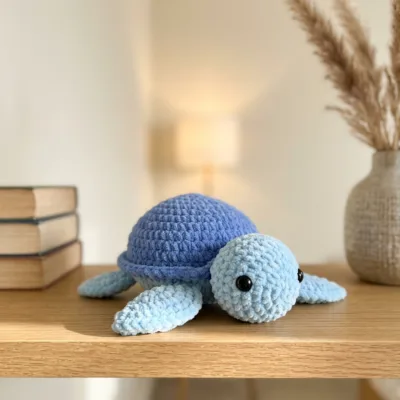
Switch Things Up
Make a whole family in mint green, lilac and teal, or use a speckled yarn for the shell. You can also try a smaller version in worsted yarn with a 3.5 mm hook, add a tiny embroidered smile, or give him a little bow for a baby shower.
Materials Needed
— Main Fabric
— Tools Required
The Free Pattern
0% complete
— Shell (cornflower blue) :
— Head (sky blue) :
— Flipper (Make 4, sky blue) :
Assembly Instructions
- Sew the head to the front of the shell, just under the ridge made in Round 8, stitching all the way around the last round of the head.
- Pin the two front flippers on either side of the head, about 5 sts away from it, on the underside edge of the shell at Round 9.
- Pin the two back flippers at the opposite side of the shell, mirroring the front pair and pointing slightly backward.
- Check that the turtle sits flat and that all four flippers look even, then sew them on with small stitches through the flattened open ends.
- Weave in all ends and gently fluff the chenille with your fingers.
Common Mistakes & How to Fix Them
Counting stitches in chenille yarn is hard because it hides the loops. Use a stitch marker in the first stitch of every round and count in groups.
Stuffing the shell too much, which makes it round like a ball. Keep it a little flat so it looks like a shell.
Placing the safety eyes too close together. Space them about 8 sts apart on the sides of the head.
Sewing the flippers too far forward, which makes them crowd the head. Keep them about 5 sts away.

You Might Also Like

Important Notes
Work in continuous spiral rounds without joining and use a stitch marker in the first stitch of every round.
Chenille yarn is slippery, so keep your tension snug and use a hook one size smaller if your stitches look loose. Gauge does not need to be exact.
For children under 3, embroider the eyes with black yarn instead of using safety eyes.
I hope you enjoy making your little turtle. Happy hooking, and tell me which colors you chose!
Crochet Abbreviations
You Ask, We Answer
How big is the finished turtle?
About 8 inches wide from flipper tip to flipper tip, and about 4 inches across the shell.
Can I use a different yarn weight?
Yes. Worsted yarn with a 3.5 mm hook makes a smaller turtle, and the stitch counts stay the same.
Is it safe for children and can I wash it?
Embroider the eyes for children under 3. Chenille yarn can be washed gently by hand, then air dried and fluffed.
Success!
Thanks for subscribing — check your inbox for a welcome note.
Abbreviations
- mr — magic ring
- sc — single crochet
- inc — increase (2 sc in the same stitch)
- dec — decrease (single crochet 2 stitches together)
- BLO — back loop only
- st — stitch
- sts — stitches