
Honey Bear Amigurumi Crochet Pattern
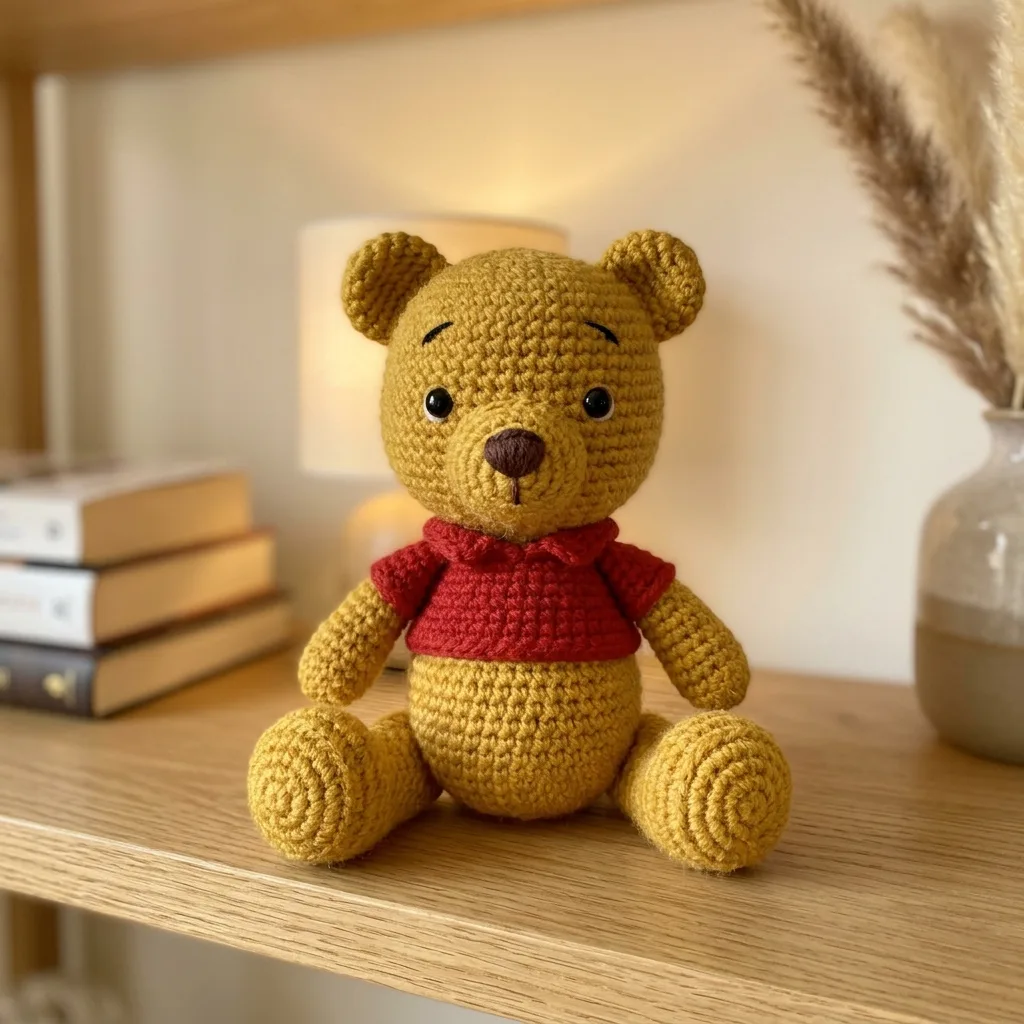
Spiral rounds, a color change and a few small pieces to sew on.
About 8 to 12 hours from the first magic ring to the last stitch.
A cuddly golden bear in a red shirt that makes a sweet handmade gift.
About This Honey Bear Amigurumi Crochet Pattern Pattern
This honey bear sits about 7 inches tall in worsted yarn. He has a round head, little round ears, a plump belly, a red shirt with a folded collar and short stubby legs that stretch out in front of him.
You will use a magic ring, increases, decreases, one color change and a little embroidery for the face. He suits anyone who has made a few amigurumi and wants a classic teddy.
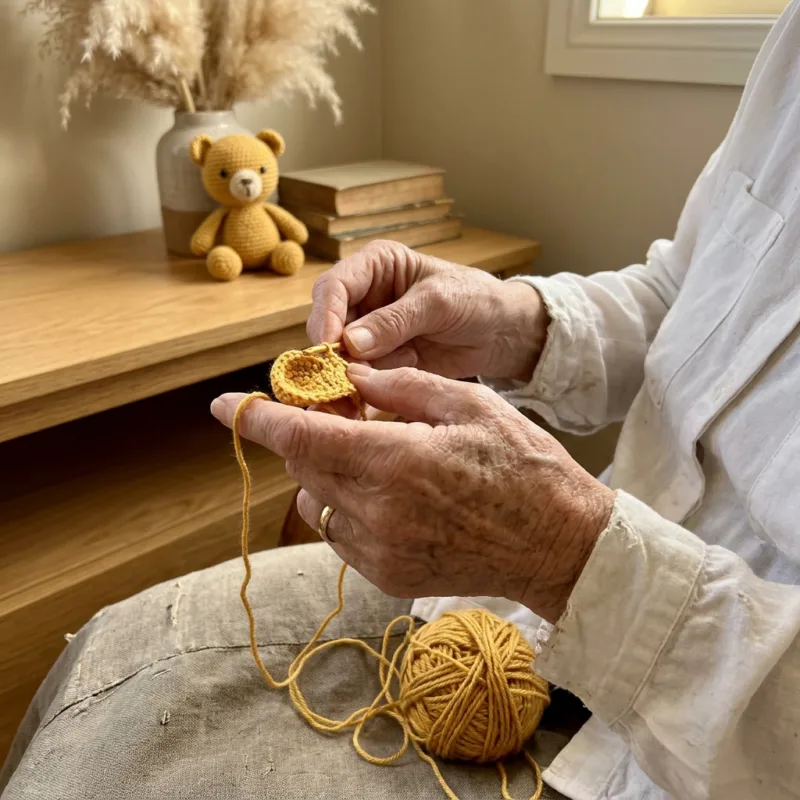
Why You'll Love This Honey Bear Amigurumi Crochet Pattern Pattern
I love how two tiny curved eyebrow stitches give him so much personality. The golden yellow and brick red look warm and cozy together.
He is also made from just a few simple shapes, so it is easy to pick up and put down between other things.
Switch Things Up
Try a blue shirt for a baby boy gift, a soft pink shirt for a girl, or a cream bear with a green sweater. You can also add a tiny scarf, a little bow tie or a small embroidered heart on the shirt, or make a smaller bear in sport weight yarn with a 2.5 mm hook.
Materials Needed
— Main Fabric
— Tools Required
The Free Pattern
0% complete
— Head (golden yellow) :
— Nose (dark brown) :
— Ear (Make 2, golden yellow) :
— Body (golden yellow and red) :
— Collar (red) :
— Arm and Sleeve (Make 2) :
— Leg (Make 2, golden yellow) :
Assembly Instructions
- Sew the open top of the body to the underside of the head around Rounds 20 to 23, leaning the head forward a little.
- Sew the nose between and just below the eyes around Rounds 15 to 17, then embroider a short thin dark brown line down from the nose for the mouth.
- Embroider two short curved black eyebrow stitches above the eyes around Rounds 11 and 12.
- Sew the ears to the top of the head around Rounds 5 to 8, about 14 sts apart.
- Wrap the collar around the neck over the join, overlap the ends at the front, fold the top edge down slightly and sew it in place.
- Sew each arm to the side of the body around Rounds 18 to 19 with the sleeve opening flat against the body.
- Sew the legs to the lower front of the body around Rounds 3 to 6, pointing forward so he sits.
- Embroider two or three tiny dark brown stitches on the sole of each foot, then weave in all ends.
Common Mistakes & How to Fix Them
Placing the eyes too far apart. Keep them about 11 sts apart and low on the face so he looks sweet.
Forgetting the back loop only round at the shirt hem. Without it, the hem has no ridge and the shirt looks plain.
Stuffing the head too softly, which makes it droop. Stuff it very firmly so it stays round.
Sewing the arms too low. Place them at Rounds 18 to 19 so the sleeves sit at the shoulders.

You Might Also Like

Important Notes
Work in continuous spiral rounds without joining and use a stitch marker in the first stitch of every round.
Carry the unused yarn inside the piece at color changes and keep your tension snug so the stuffing does not show. Gauge does not need to be exact.
For children under 3, embroider the eyes with black yarn instead of using safety eyes.
I hope you enjoy making your little honey bear. Happy hooking, and tell me what color shirt you picked!
Crochet Abbreviations
You Ask, We Answer
How big is the finished bear?
About 7 inches tall seated in worsted yarn.
Can I use a different yarn weight?
Yes. Chunky yarn with a 5 mm hook makes a bigger bear, and sport yarn with a 2.5 mm hook makes a smaller one.
Is it safe for children and can I wash it?
Embroider the eyes for children under 3. Spot clean gently with a damp cloth, or wash by hand and air dry.
Success!
Thanks for subscribing — check your inbox for a welcome note.
Abbreviations
- mr — magic ring
- sc — single crochet
- inc — increase (2 sc in the same stitch)
- dec — decrease (single crochet 2 stitches together)
- ch — chain
- BLO — back loop only
- st — stitch
- sts — stitches