
Lantern Square Bed Cover Crochet Pattern
You should be comfortable with dc, hdc and joining rounds.
One portable square at a time, so you can work on it anywhere.
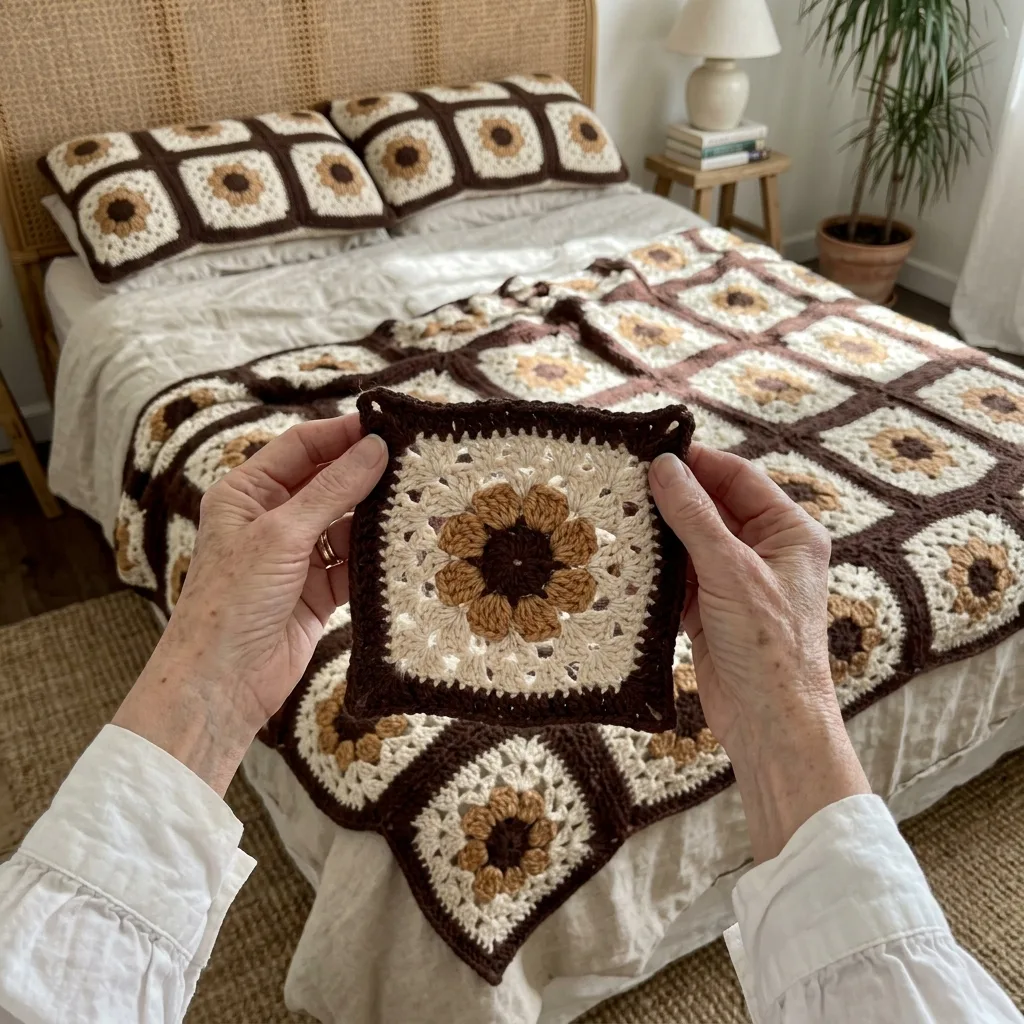
Dark brown outlines turn simple squares into a field of lanterns.
About This Lantern Square Bed Cover Crochet Pattern Pattern
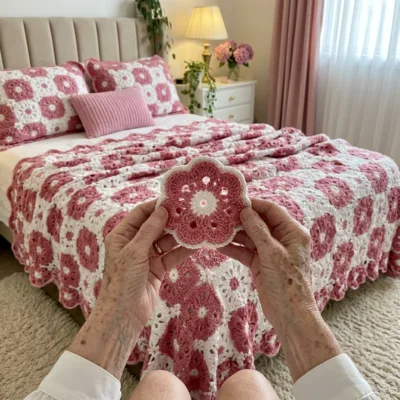
This bed cover is made from 180 small squares, each with a caramel flower center, a cream body and a dark chocolate brown outline. When the squares are joined with brown seams, the outlines form a pattern of soft lantern shapes across the bed.
It finishes at about 72 by 90 inches, which fits a full or queen bed with a nice drape. You will use basic stitches, a round-by-round square and a simple slip stitch seam. It suits crocheters who have finished a few granny squares and want a bigger project.
Why You'll Love This Lantern Square Bed Cover Crochet Pattern Pattern
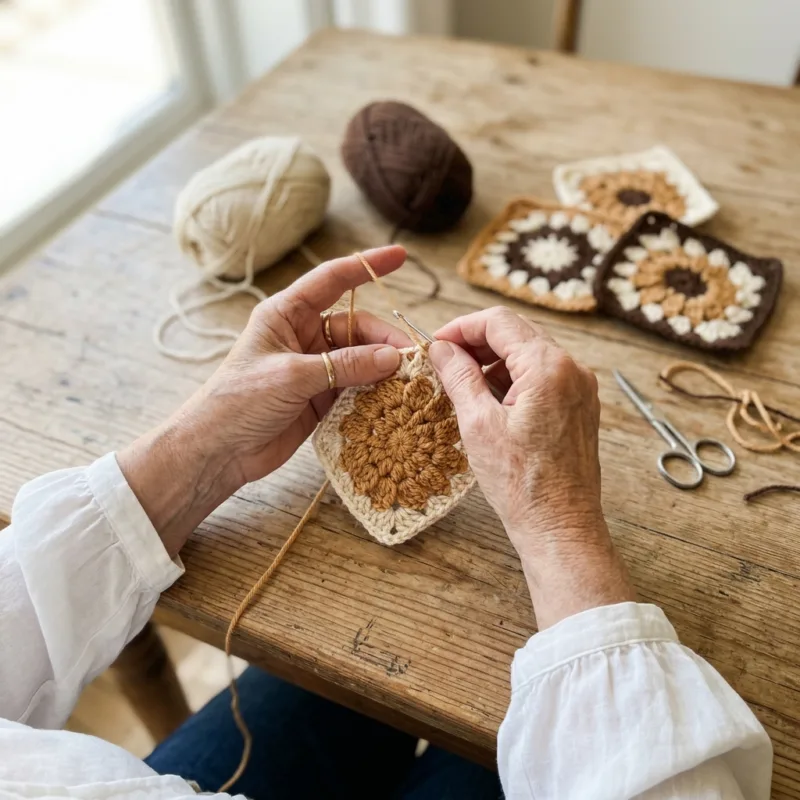
I love that every square is small enough to carry in a bag. I made mine on the sofa, in the car and while chatting with friends, and the pile grew faster than I expected.
The three colors feel warm and calm in a bedroom. It also makes a lovely gift for a new home, and the finished cover feels like it took a lifetime to make, even though it was just one square at a time.
Switch Things Up
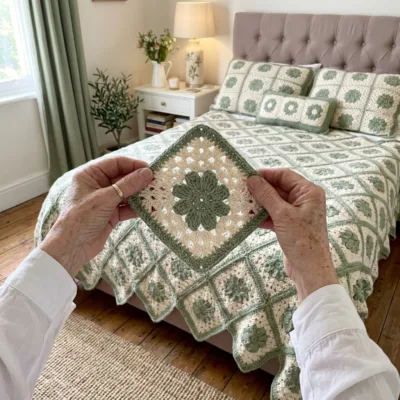
Try a soft gray, white and sand palette for a lighter room, or navy, cream and mustard for a bolder look. For a baby blanket, make a grid of 6 by 8 squares, which gives about 36 by 48 inches. For a throw, use 8 by 10 squares. You can also swap the brown border for a cream one to make the lantern outlines softer.
Materials Needed
— Main Fabric
— Tools Required
The Free Pattern
0% complete
— Lantern Square (Make 180) :
— Layout :
— Border (dark brown) :
Assembly Instructions
- Weave in all ends on every lantern square and block each one to about 6 by 6 inches.
- Lay out the squares in 15 rows of 12 and check the flower centers all face the same way.
- Join the squares into rows using a dark brown sl st seam through the back loops only, matching corner to corner.
- Join the rows together with the same dark brown seam, matching the corner joins so the lantern outlines line up.
- Block the whole bed cover flat, pin the outer edges straight and let it dry fully.
- Work the two border rounds in dark brown around the outer edge, placing 3 sc in each outer corner so the cover lies flat.
- Weave in the last ends and give the cover a final light steam block.
Common Mistakes & How to Fix Them
Squares of different sizes make the grid wavy, so check each one against a 6 inch template before you join.
Skipping a stitch on the corner of Round 5 or Round 6 makes the points uneven, so always work 2 dc, ch 2, 2 dc in the corner.
Seams worked too tightly pull the lantern outlines out of line, so keep your slip stitches loose and even.
Mixing up the order of the flower and the cream body leaves the center flat, so always fold the petals forward before starting Round 4.

You Might Also Like
Important Notes
Each finished square should measure about 6 inches. If yours are larger or smaller, change your hook size by 0.5 mm.
Block every square before joining. Cotton holds its shape well once it is pinned and dried flat.
Buy all your yarn from the same dye lot for each color to avoid shade differences across the cover.
Machine wash cold on a gentle cycle and dry flat, or follow the care label on your yarn.
I hope this bed cover brings as much warmth to your room as it did to mine. Take your time, enjoy each little square, and tell me how yours turns out.
Crochet Abbreviations
You Ask, We Answer
What is the finished size of the bed cover?
With 180 squares of about 6 inches each, laid out 12 across by 15 down, it measures about 72 by 90 inches before the border.
Can I use a different yarn weight or make it smaller?
Yes. DK cotton gives smaller squares, so you will need more of them. For a throw, make 8 by 10 squares, and for a baby blanket make 6 by 8 squares.
How do I wash and care for the finished cover?
Wash it cold on a gentle cycle with mild soap, reshape it while damp and dry it flat. Avoid high heat so the cotton keeps its shape.
Success!
Thanks for subscribing — check your inbox for a welcome note.
Abbreviations
- ch — chain
- sl st — slip stitch
- sc — single crochet
- hdc — half double crochet
- dc — double crochet
- st — stitch
- sp — space