
Brown and Cream Diamond Flower Bed Cover Crochet Pattern
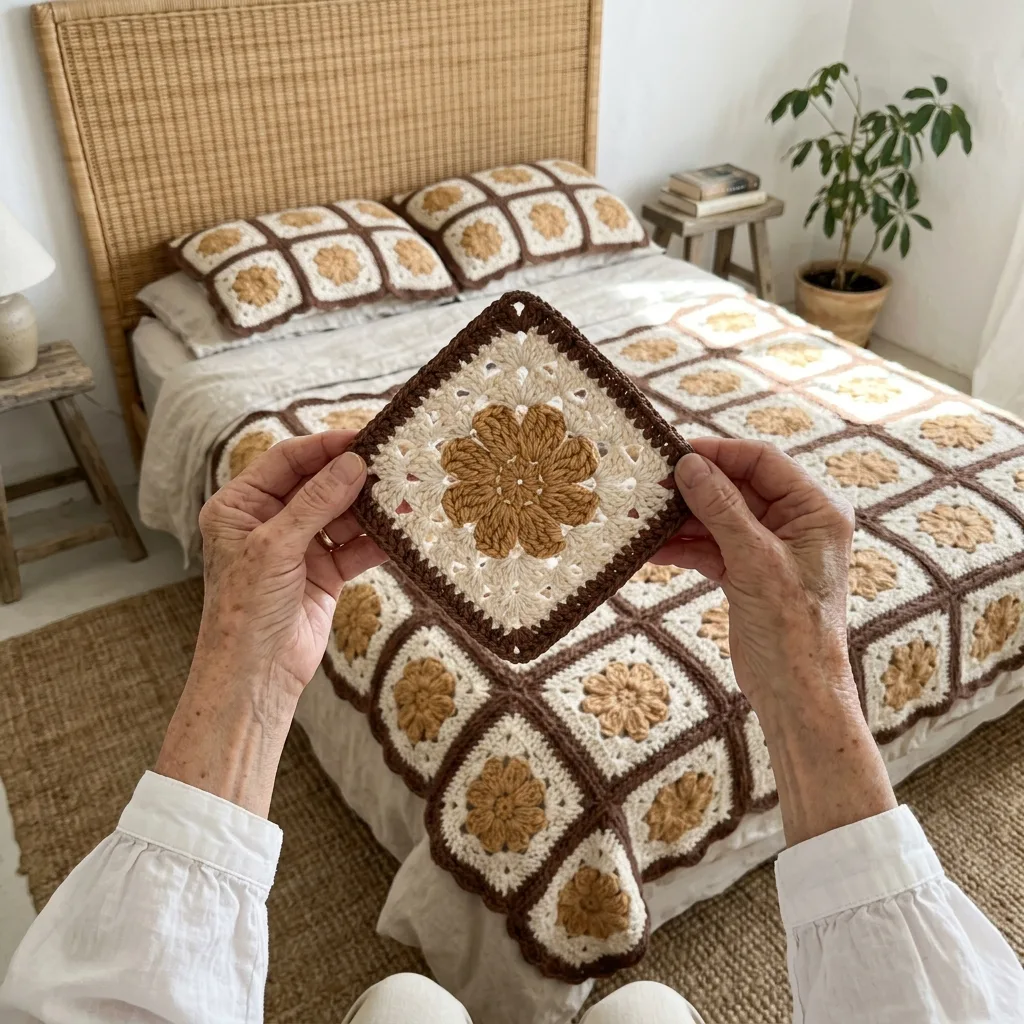
You should be comfortable with double crochet, chain spaces and whipstitch seams.
Each motif takes about 40 minutes, so this is a cozy project to enjoy over many weeks.
Warm brown, cream and caramel make a bedroom feel calm and welcoming.
About This Brown and Cream Diamond Flower Bed Cover Crochet Pattern Pattern
This bed cover is made from 162 flower diamond motifs. Each motif starts with a caramel tan flower, grows into rounds of open cream lace with little eyelets, and finishes with a bold chocolate brown edge. The motifs are joined on point, so they read as diamonds, and the pointed top and bottom edges drape softly over the sides of the bed.
Each motif measures about 6.5 inches (16.5 cm) across, and the finished cover is about 85 by 95 inches (216 by 241 cm) after the scalloped border. You will use double crochet, chain spaces and whipstitch seams in worsted cotton. It suits anyone who is ready for a big, rewarding project.
Why You'll Love This Brown and Cream Diamond Flower Bed Cover Crochet Pattern Pattern
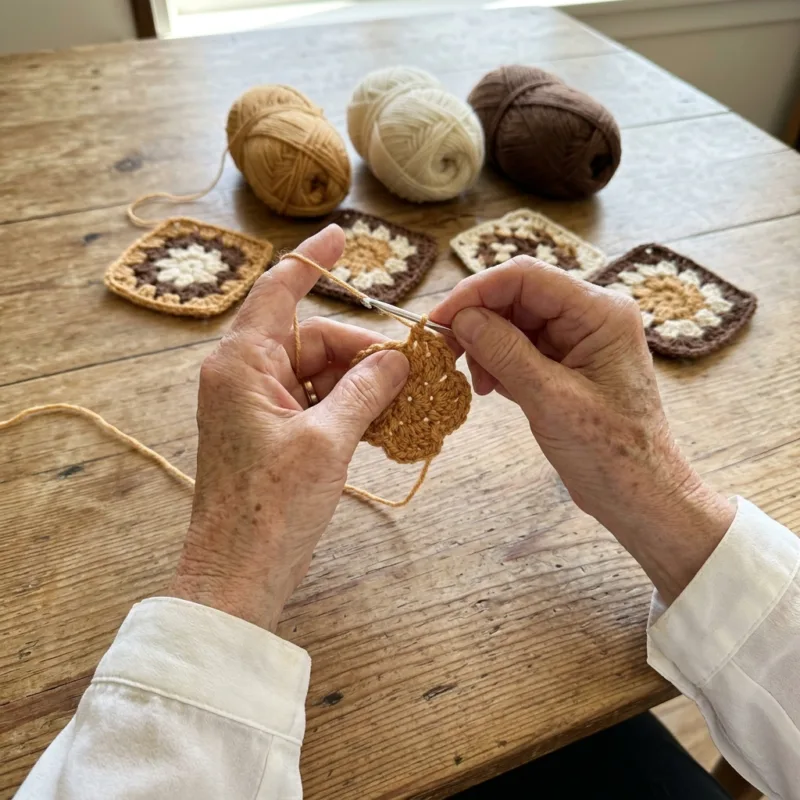
I love that the whole bed cover is just one small motif repeated. I can tuck a motif in my bag, work a few rounds on the sofa, and still feel like I am getting somewhere. The caramel flower in the middle is my favorite part to make.
The warm brown and cream colors make a bedroom feel calm and lived in. It also makes a lovely heirloom gift for a wedding or a new home, and you can make as many motifs as your time allows.
Switch Things Up
Try a new palette, such as sage green and cream with a butter yellow flower, or navy and white with a soft gray center. For a baby blanket or throw, make 9 rows alternating 5 and 4 motifs, which uses 41 motifs and measures about 46 by 46 inches before the border. You can also use DK weight cotton with a 3.5 mm hook for smaller, finer motifs. For a simpler finish, replace the scalloped border with two plain rounds of single crochet.
Materials Needed
— Main Fabric
— Tools Required
The Free Pattern
0% complete
— Flower Diamond Motif (Make 162, caramel center, cream body, brown edge) :
— Layout :
— Scalloped Border :
Assembly Instructions
- Wet or steam block every motif to about 6.5 inches (16.5 cm) square, pinning the corners so the sides stay straight, and let them dry completely.
- Lay all 162 motifs on a large floor or bed on point, following the Layout section, so you can check the corner direction and row counts before you stitch.
- Thread a yarn needle with brown and join the motifs row by row from the top, whipstitching the two upper edges of every motif to the two motifs above it through both loops of the 23 edge sts.
- Stop each seam at the corner ch-2 sps and do not stitch across them, so a small round eyelet stays open where four motifs meet.
- When all 19 rows are joined, lay the cover flat, pin it to size and steam block gently to even out the seams.
- Work the three Scalloped Border rounds around the whole zigzag edge, then weave in all ends and trim.
Common Mistakes & How to Fix Them
Check the stitch count after Round 7: 92 dc means your corners are right, while a motif with 90 or 94 stitches will not fit its neighbors.
Do not pull the ch 5 loops in Round 4 tight, or the flower will pucker and the motif will not lie flat.
Keep your whipstitches loose and even so the seams do not pull the motifs out of shape or make the cover stiff.
Mark the first motif of each row on your layout plan, because the rows alternate between 9 and 8 motifs and it is easy to place one in the wrong row.

You Might Also Like
Important Notes
Gauge: after Round 3 the flower should measure about 3.5 inches (9 cm), and the finished motif about 6.5 inches (16.5 cm) per side. If yours is smaller or larger, change your hook size by one step.
Buy all of the brown yarn at once from the same dye lot, because it is used for the motif edges, seams and border.
Block every motif before joining, since cotton relaxes and evens out beautifully when pinned.
Check your yarn label for care instructions, as most cotton can be machine washed cold on a gentle cycle and dried flat.
I hope you enjoy every little flower as much as I did. Take your time, make one motif at a time, and soon you will have a bed cover to be proud of. Happy crocheting!
Crochet Abbreviations
You Ask, We Answer
How big is the finished bed cover?
Before the border it measures about 83 by 92 inches (211 by 234 cm), and about 85 by 95 inches (216 by 241 cm) with the border. That covers a queen bed with a generous drop, and you can make fewer motifs for a smaller size.
Can I use a different yarn weight or make it smaller?
Yes. DK weight cotton with a 3.5 mm (E-4) hook gives smaller motifs, so you will need more of them to reach the same size. For a throw, make 41 motifs in 9 rows alternating 5 and 4. Always make one motif first and measure it.
How do I wash and care for it?
Check your yarn label first. Most worsted cotton can be machine washed cold on a gentle cycle and laid flat to dry. A cotton bed cover is heavy when wet, so support its weight when you lift it.
Success!
Thanks for subscribing — check your inbox for a welcome note.
Abbreviations
- ch — chain
- sl st — slip stitch
- sc — single crochet
- hdc — half double crochet
- dc — double crochet
- sp — space
- st — stitch (sts means stitches)
- sc2tog — single crochet 2 stitches together