
Amanda's Creative Corner Crochet · Kitchen
Free Crochet Patterns Handmade with Love

Blue and White Teardrop Crochet Bed Cover Pattern
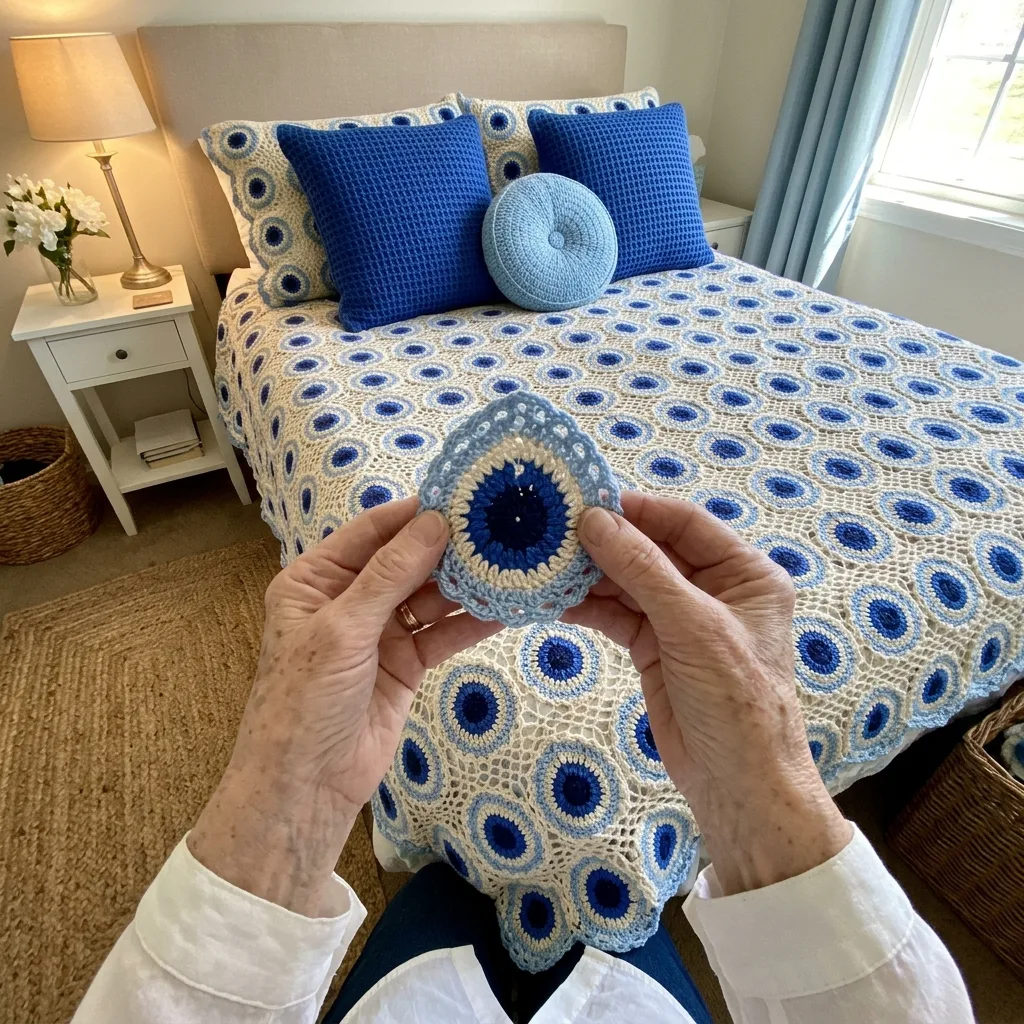
Jump to Pattern
Blue and White Teardrop Crochet Bed Cover Pattern
150-190 Hours 7 made this
Intermediate Level

You need to be comfortable with double crochet, working in rounds and sewing pieces together.

150-190 Hours

Each teardrop is small and portable, so you can make one or two a day.

Peacock Look

Navy, royal blue and light blue rings on a cream mesh give a calm, classic bedroom.

About This Blue and White Teardrop Crochet Bed Cover Pattern Pattern

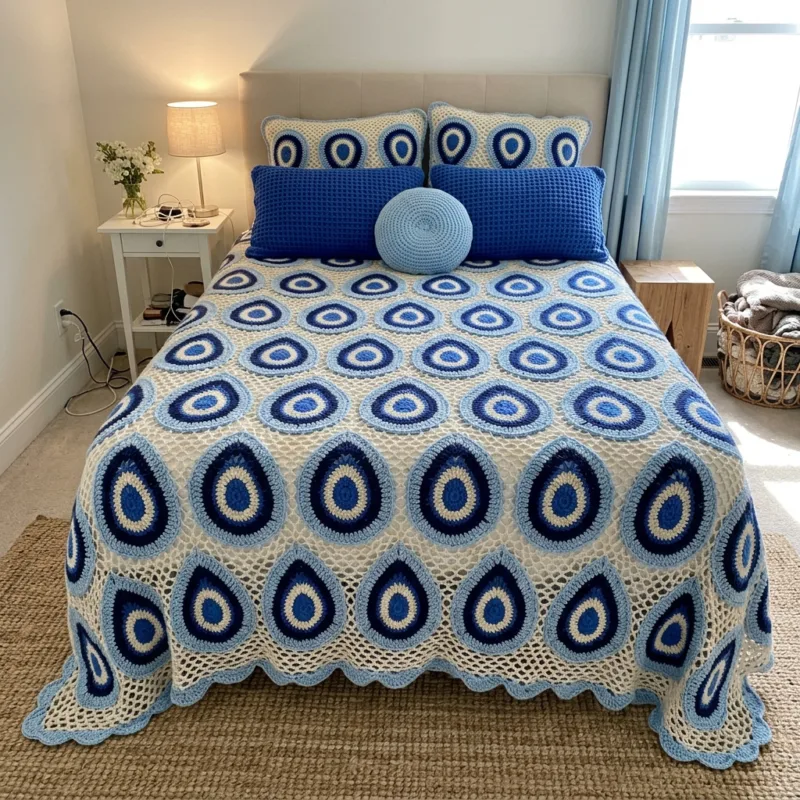
This bed cover is made of 120 teardrop motifs, each with rings of navy, royal blue, cream and light blue and a scalloped edge of open loops. The motifs are sewn in 12 columns and 10 rows onto a cream filet mesh base that is worked in 4 panels. A light blue shell edge finishes all four sides.

The finished size is about 96 by 100 inches, which covers a queen bed and drapes close to the floor. You will use double crochet, single crochet, chain loops, a simple filet mesh and basic sewing.
Blue and White Teardrop Crochet Bed Cover Pattern step detail

Why You'll Love This Blue and White Teardrop Crochet Bed Cover Pattern Pattern

I love that every teardrop is a small, quick project. You can carry one in your bag, finish it in an evening and slowly watch a whole bedroom set appear.

The blue rings look so calm against the cream mesh, and the light comes through the open loops. It is a cover that makes a bedroom feel cool and fresh, and it makes a gift that people keep for years.

Switch Things Up

Try sage green and cream rings on an oatmeal mesh, or dusty rose and plum on a cream base. Make 6 columns and 8 rows for a lap throw, or 9 columns and 10 rows for a twin bed. You can also make a round pillow cover from one motif sewn to a circle of mesh, or finish the edge with a plain row of single crochet instead of shells.


Materials Needed

— Main Fabric

01 Worsted weight 100% cotton yarn, cream: about 2,600 g (roughly 4,700 yd) for the mesh base and the cream rings of 120 motifs
02 Worsted weight 100% cotton yarn, light blue: about 1,400 g (roughly 2,500 yd) for the outer rounds of the motifs and the edge
03 Worsted weight 100% cotton yarn, navy: about 600 g (roughly 1,080 yd) for the centers and the ring around the cream
04 Worsted weight 100% cotton yarn, royal blue: about 400 g (roughly 720 yd) for the middle rings
05 Add about 10 percent extra of each color, because amounts are estimates

— Tools Required

06 4.0 mm (US G-6) crochet hook
07 Yarn needle for sewing the motifs to the base and weaving in ends
08 Stitch markers
09 Scissors
10 Blocking mats and pins
11 Measuring tape

The Free Pattern

Intermediate 150-190 Hours

0% complete

— Teardrop Motif (Make 120, navy, royal blue, cream and light blue) :

Join every round with a sl st and do not turn. The ch-2 sp is the point of the teardrop, so mark it with a stitch marker. The 2 dc, ch 2, 2 dc group is worked in that sp in every round from Round 3 to Round 7.
Round 1 (navy): Make a magic ring, ch 3 (counts as dc), 11 dc in the ring, sl st to the top of the ch 3, pull the ring closed (12 dc).
Round 2 (navy): ch 3 (counts as dc), ch 2, dc in the same st (this is the point), dc in each of the next 2 dc, 2 dc in each of the next 7 dc, dc in each of the last 2 dc, sl st to the top of the ch 3, fasten off (20 dc, 1 ch-2 sp).
Round 3 (royal blue): Join royal blue in the ch-2 sp, ch 3 (counts as dc), dc, ch 2, 2 dc in the same sp, dc in each of the next 3 dc, *2 dc in next dc, dc in next dc*, repeat from * to * 7 times, dc in each of the last 3 dc, sl st to the top of the ch 3 (31 dc, 1 ch-2 sp).
Round 4 (royal blue): sl st in the ch-2 sp, ch 3 (counts as dc), dc, ch 2, 2 dc in the same sp, dc in each of the next 5 dc, *2 dc in next dc, dc in each of the next 2 dc*, repeat from * to * 7 times, dc in each of the last 5 dc, sl st to the top of the ch 3, fasten off (42 dc, 1 ch-2 sp).
Round 5 (cream): Join cream in the ch-2 sp, ch 3 (counts as dc), dc, ch 2, 2 dc in the same sp, dc in each of the next 7 dc, *2 dc in next dc, dc in each of the next 3 dc*, repeat from * to * 7 times, dc in each of the last 7 dc, sl st to the top of the ch 3 (53 dc, 1 ch-2 sp).
Round 6 (cream): sl st in the ch-2 sp, ch 3 (counts as dc), dc, ch 2, 2 dc in the same sp, dc in each of the next 9 dc, *2 dc in next dc, dc in each of the next 4 dc*, repeat from * to * 7 times, dc in each of the last 9 dc, sl st to the top of the ch 3, fasten off (64 dc, 1 ch-2 sp).
Round 7 (navy): Join navy in the ch-2 sp, ch 3 (counts as dc), dc, ch 2, 2 dc in the same sp, dc in each of the next 11 dc, *2 dc in next dc, dc in each of the next 5 dc*, repeat from * to * 7 times, dc in each of the last 11 dc, sl st to the top of the ch 3, fasten off (75 dc, 1 ch-2 sp).
Round 8 (light blue): Join light blue in the ch-2 sp, ch 1, 3 sc in the sp, sc in each of the 75 dc around, sl st to the first sc (78 sc).
Round 9 (light blue): ch 1, sc in the same st, *ch 4, skip 2 sc, sc in next sc*, repeat from * to * 25 times, ch 4, skip the last 2 sc, sl st to the first sc (26 ch-4 loops).
Round 10 (light blue): sl st into the first ch-4 loop, ch 1, (sc, hdc, 3 dc, hdc, sc) in the same loop, (sc, hdc, 3 dc, hdc, sc) in each of the next 25 loops, sl st to the first sc, fasten off (26 scallops, 182 sts).
Block each motif to about 8.5 inches wide and 10.5 inches tall. Weave in the ends after every few motifs.

— Cream Mesh Base Panel (Make 4, cream) :

Each panel is 24 inches wide and 100 inches long. Mesh gauge is 4 spaces and 4 rows to 2 inches. Work Row 2 until you reach 200 rows.
Row 1: ch 100, dc in 4th ch from hook, *ch 1, skip 1 ch, dc in next ch*, repeat from * to * 48 times (49 dc, 48 ch-1 sp).
Row 2: ch 4 (counts as dc and ch 1), turn, skip the first ch-1 sp, dc in next dc, *ch 1, skip next ch-1 sp, dc in next dc*, repeat from * to * 47 times (49 dc, 48 ch-1 sp).
Rows 3 to 200: Repeat Row 2 another 198 times (49 dc, 48 ch-1 sp in every row). Fasten off and weave in the ends.

— Layout :

Join the 4 panels side by side to make a base of about 96 by 100 inches. Mark a grid on the base with pins: 12 columns 8 inches apart and 10 rows 10 inches apart.
Place the 120 teardrops, one on each grid mark, with every point facing the foot of the bed. The scalloped edges of neighbouring motifs should just touch, and the cream mesh shows between them as a lattice. Pin every motif before you sew.

— Scalloped Edge (light blue) :

Stitch counts: each panel has 49 dc and 48 ch-1 sp across the width, which is 97 sc per panel. At each of the 3 seams, work the two end stitches together as sc2tog, so each width edge has 4 x 97 - 3 = 385 sc, corner stitches included. Each length edge has 2 sc in each of 200 row ends = 400 sc. Corners get 2 extra sc each.
Round 1: Join light blue in any corner, ch 1, sc in each st and ch-1 sp across the width edges (385 sc each) and 2 sc in each row end along the length edges (400 sc each), working 3 sc in each of the 4 corner sts, sl st to the first sc (385 x 2 + 400 x 2 + 8 = 1,578 sc).
Round 2: ch 1, *sl st in next sc, skip 2 sc, 5 dc in next sc, skip 2 sc*, repeat from * to * 263 times in total, sl st to the first sl st, fasten off (263 shells, 1,315 dc). The repeat uses 6 sc, and 1,578 divides by 6 exactly.

Assembly Instructions

  1. Block all 120 teardrop motifs to the same size, about 8.5 by 10.5 inches, and let them dry fully.
  2. Join the 4 mesh panels with a slip stitch seam along their long edges, matching the rows, and block the base flat to about 96 by 100 inches.
  3. Lay the base on a large flat floor and mark the grid with pins: 12 columns 8 inches apart and 10 rows 10 inches apart.
  4. Pin one teardrop on each grid mark with the points facing the foot of the bed, then sew each motif to the mesh with small whip stitches through the scalloped loops of Round 9.
  5. Work Round 1 of the edge in light blue around all four sides, then work the shell Round 2.
  6. Weave in all ends and give the whole cover a gentle final blocking so the scallops lie flat.

Common Mistakes & How to Fix Them

Losing track of the ch-2 sp at the point makes the teardrop lean to one side, so keep a stitch marker in it for every round.

Skipping the extra dc increases in the curve gives a motif that is too narrow, so count each round against the number in brackets.

Sewing motifs before the base is blocked makes the mesh pucker, so block the panels first.

Making the mesh rows too tight changes the panel length, so check your gauge after 20 rows and change the hook size if needed.


Denise

Denise is a crochet designer who shares warm, easy-to-follow patterns for cozy homes.


Important Notes

Gauge: the mesh should measure 4 spaces and 4 rows to 2 inches, and each teardrop about 8.5 by 10.5 inches after blocking. Sizes and yarn amounts are estimates from the photo, so make one motif and one mesh swatch first.

If your motif is larger or smaller than mine, adjust the column spacing, the panel width and the edge counts together.

Buy the cream for the base all at once from the same dye lot.

Wash gently in cool water with a color catcher because the navy can bleed into the cream, and dry flat.


I hope this cover brings a calm, cool feeling to your bedroom. Take it one teardrop at a time, and show me your colors when you are done.

Crochet Abbreviations

01 ch — chain
02 sl st — slip stitch
03 sc — single crochet
04 sc2tog — single crochet 2 stitches together
05 hdc — half double crochet
06 dc — double crochet
07 sp — space
08 st — stitch

You Ask, We Answer

What is the finished size of this bed cover?

About 96 by 100 inches, which covers a queen bed and drapes close to the floor. Use 6 columns and 8 rows for a lap throw.

Can I use a different yarn weight?

Yes. A lighter cotton makes smaller motifs and a finer mesh, so you will need more motifs, a different hook and recalculated counts. Always make a sample motif first.

How do I wash and care for it?

Wash gently in cool water with a color catcher, then reshape and dry flat. Do not wring the cover, because the mesh can stretch.





