
Cream Lace Motif Bed Cover Crochet Pattern
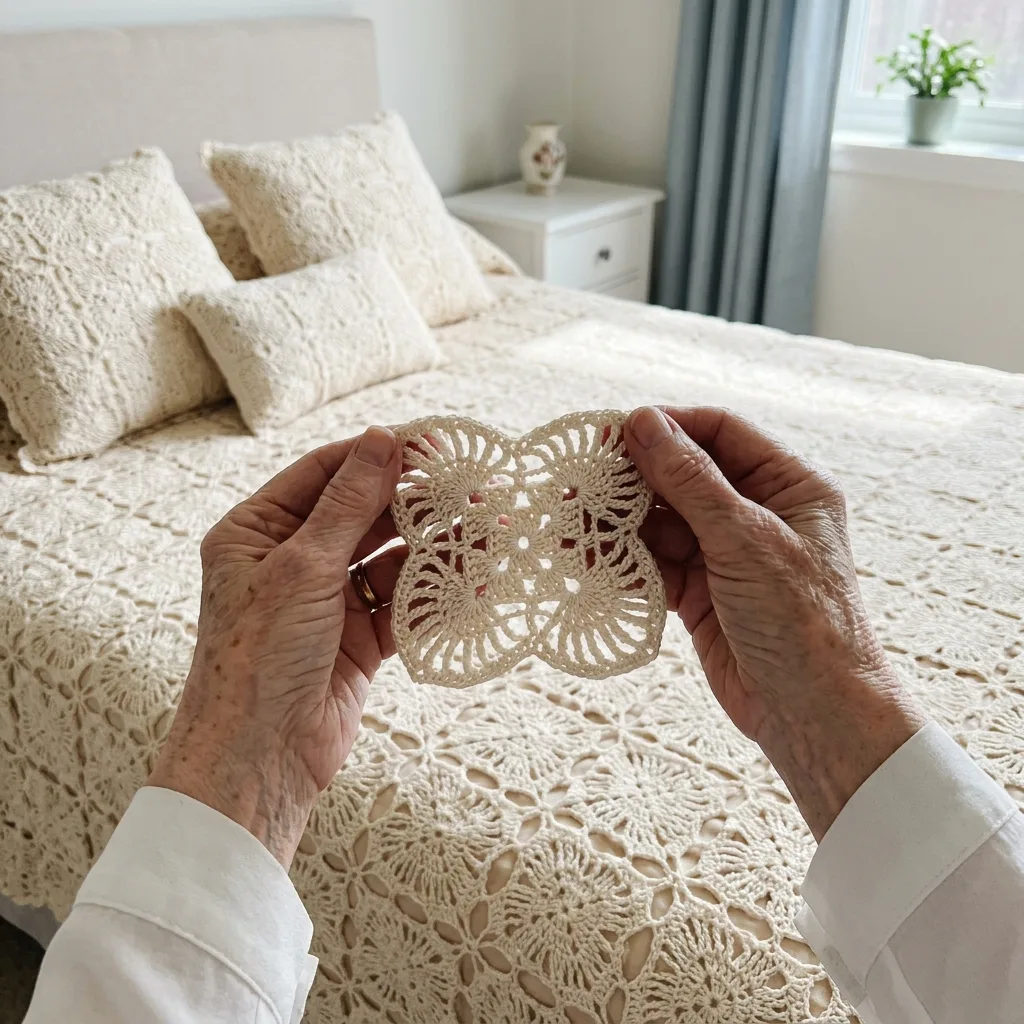
You need to read stitch counts and be comfortable working small fans.
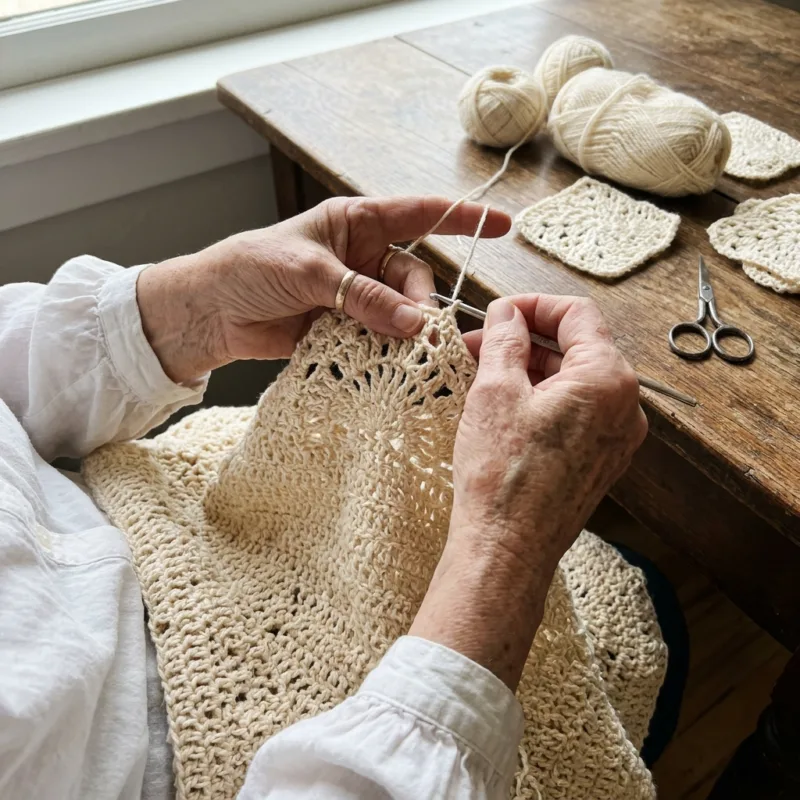
Each motif takes about an hour and a half, so the cover grows one piece at a time.
Every lace motif is small enough to carry in a bag.
About This Cream Lace Motif Bed Cover Crochet Pattern Pattern
This bed cover is made from 99 lace motifs. Each motif has a small granny square center and four open fans with raised spokes and a chain loop edge. One finished motif measures about 8 inches from fan tip to fan tip.
The motifs are joined in 9 columns and 11 rows and only the outer fans get an edging. The cover measures about 72 by 88 inches. You will use sc, dc, ch-sps and simple slip stitch joins, so it suits crocheters who have finished a few motif projects already.
Why You'll Love This Cream Lace Motif Bed Cover Crochet Pattern Pattern
I love that this cover never feels like one giant project. You finish a motif, set it in the basket and start the next, and before long the pile is tall.
The cream lace is calm and bright in a bedroom, and the open fans let the light through the stitches. It makes a lovely gift for a wedding or a new home.

Switch Things Up
Try soft sage, dusty blue or a warm gray for a different mood. Make 5 columns and 6 rows for a sofa throw of about 40 by 48 inches, or 4 by 5 motifs for a baby blanket. You can also make a single motif and sew it onto a pillow front, or work the edging on every fan for a fully scalloped outline.
Materials Needed
— Main Fabric
— Tools Required
The Free Pattern
0% complete
— Square Center (Make 99, cream) :
— Fans (Make 4 on every square, 396 in total, cream) :
— Layout and Joining :
— Outer Fan Edging (Make 40, cream) :
Assembly Instructions
- Make 99 square centers, then work 4 fans on every square and weave in all the ends.
- Block each motif to about 8 inches across, pinning every fan into a half circle.
- Lay out the motifs in 9 columns and 11 rows, all facing the same direction.
- Join the motifs into 11 rows with sl st across the middle 21 sc of each pair of facing fans.
- Join the 11 rows to each other the same way, using the bottom and top fans.
- Work the 2-row edging on the 40 fans that stay open around the outside of the cover.
- Give the finished cover a final light steam or gentle press and let it dry flat.
Common Mistakes & How to Fix Them
Skipping the stitch count on Fan Row 1 changes every row after it, so check that you have exactly 21 dc before you move on.
Pulling the ch-5 loops too tight in Row 4 makes the fan cup instead of lie flat, so keep them loose and relaxed.
Joining the full fan edge instead of the middle 21 sc closes the lace holes and makes the cover stiff, so mark sc 21 and 41 with stitch markers.
Mixing dye lots of cream can show as faint bands across a large cover, so buy all the yarn at once.

You Might Also Like






Important Notes
Each square center should measure about 3.5 inches and each finished motif about 8 inches fan tip to fan tip. Make one motif first and adjust the number of motifs if yours comes out larger or smaller.
Yarn amounts are estimates, so buy extra and keep a ball for the edging.
Block each motif before you join them, because the fans relax and the joins then line up evenly.
Wash on a gentle cold cycle and dry flat. A soft beige liner under the cover keeps the lace from showing the mattress.
I hope this cream lace cover brings a calm, handmade feeling to your bedroom. Take it one motif at a time, and I would love to hear how your first fan turned out.
Crochet Abbreviations
You Ask, We Answer
What size is the finished bed cover?
It measures about 72 by 88 inches with 9 columns and 11 rows of motifs. Each motif is about 8 inches across.
Can I use a different yarn weight or make it smaller?
Yes. A thicker yarn makes larger motifs, so make one and measure it before you decide how many you need. For a throw, use 5 columns and 6 rows.
How do I wash and care for the cover?
Wash it on a gentle cold cycle and dry it flat. Avoid hot water and high heat, because cotton can shrink and open lace can stretch if you hang it wet.
Success!
Thanks for subscribing — check your inbox for a welcome note.
Abbreviations
- ch — chain
- sl st — slip stitch
- sc — single crochet
- dc — double crochet
- sp — space
- st(s) — stitch(es)
- MR — magic ring